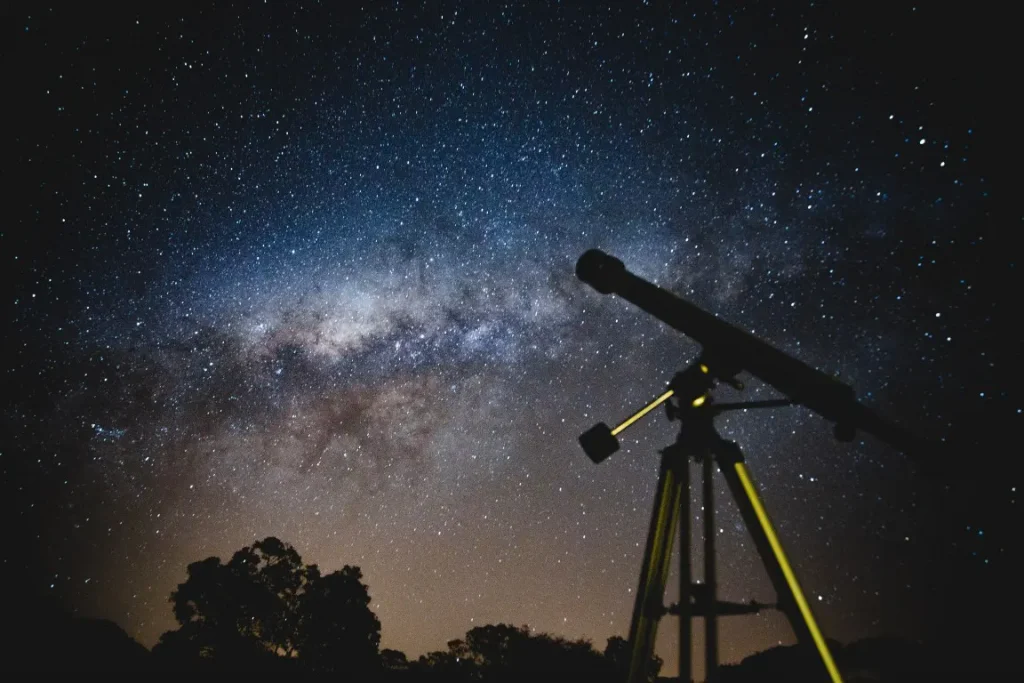
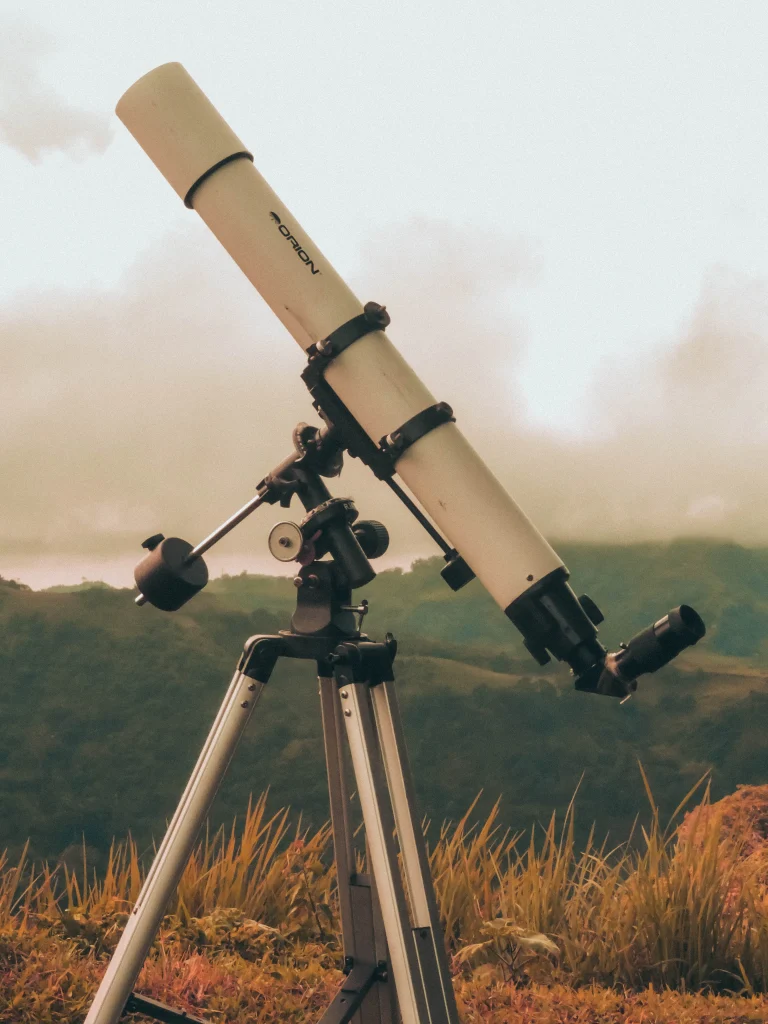
Embarking on your astronomy journey with a 100mm telescope can be an exhilarating and enlightening experience.
This practical tool bridges the gap between beginner stargazers and astrophotography enthusiasts, granting access to awe-inspiring celestial sights and the ability to capture them.
With its balanced light-gathering capacity and portability, the 100mm telescope reveals wonders from Saturn’s rings to distant star clusters.
This article serves as a beginner’s guide, providing a comprehensive overview of using a 100mm telescope for observation and astrophotography.
I’ll explore what you can see with this instrument and offer tips on capturing stunning images of the cosmos.
Let’s get started
The 100mm Telescope View: An Overview
A 100mm telescope provides an expansive window to the cosmos, enabling you to explore a wide array of celestial objects.
- With such a device, the moon’s craters become distinct features, and Jupiter’s bands and four Galilean moons come into focus.
- You’ll be able to spot Saturn’s iconic rings and, on a clear night, the greenish hue of Uranus.
- Deep-sky objects like nebulae, galaxies, and star clusters also fall within the realm of visibility.
This medium-sized instrument can even serve astrophotographers seeking to capture the ethereal beauty of the universe.
When it comes to photographing them using a 100mm telescope, additional equipment like a camera mount and a DSLR or dedicated astrophotography camera is required.
However, remember that your viewing experience is influenced by factors like light pollution, viewing conditions, and telescope setup.
This article will guide you through all these aspects, optimizing your 100mm telescope use to view celestial objects as well as capture them.
Understanding Telescope Magnification
When it comes to telescopes, magnification is a crucial concept to grasp. The magnifying power of a 100mm telescope – or any telescope – is determined by the eyepiece used.
Typically, you calculate the magnification by dividing the focal length of the telescope by that of the eyepiece.
For instance, if your 100mm telescope has a focal length of 1000mm and you use a 10mm eyepiece, you’ll achieve 100x magnification.
This allows you to see lunar details, the rings of Saturn, or Jupiter’s moons. However, remember that higher magnification isn’t always better as it narrows the field of view and requires more light to maintain image brightness.
Striking a balance between magnification and other factors is key to a rewarding stargazing experience.
What can you see with a 100mm Telescope?
When it’s come to your 100mm telescope, a few additional variables are available to determine what you can view through your telescope lens and the quality of the image.
The exact calculations are laid on knowing the telescope’s focal length, and magnification. but sometimes differences between telescopes can be perceived due to the quality of the lenses and mirrors or even external variables like weather conditions.
let’s look at the things that can capture using 100mm telescope.
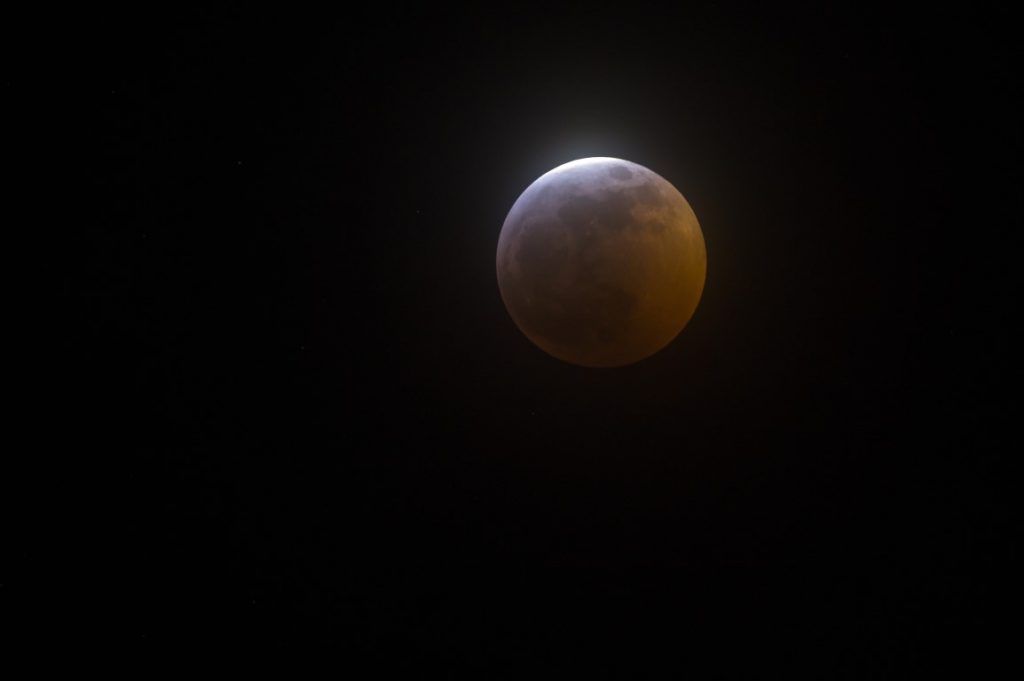
Moon.
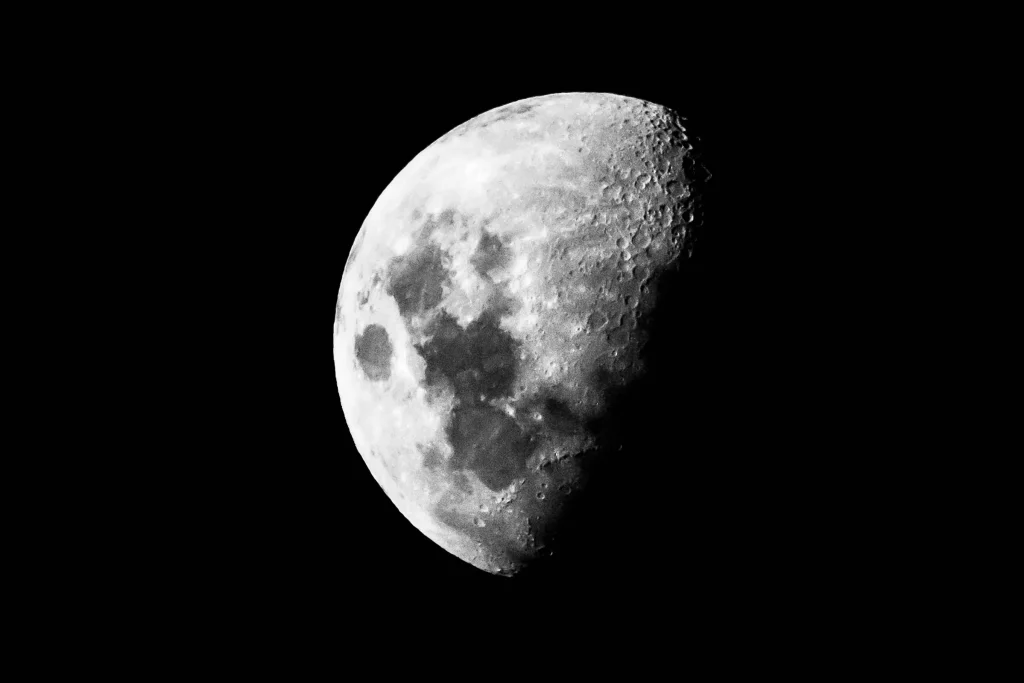
Photographing the Moon is a popular and rewarding venture for many astrophotographers. With its close proximity and bright surface, the Moon provides a stunning subject that’s ideal for beginners with a 100mm telescope.
Here’s what you’ll need and some tips to get started.
1. Telescope and Mount: Your 100mm telescope is a perfect tool for moon photography. A sturdy and reliable mount is essential to avoid shaky images. An equatorial mount is best for tracking the Moon smoothly across the sky, reducing blur in your images.
2. Camera: For beginners, a DSLR or mirrorless camera provides a good balance of price, performance, and ease of use. More experienced photographers may prefer a dedicated astronomy camera, which offers greater sensitivity and noise control but requires a computer for image capture.
3. T-Adapter and T-Ring: These accessories are necessary to attach your camera to the telescope. The T-adapter connects to the telescope’s eyepiece holder, and the T-ring attaches to your camera’s lens mount, providing a secure and stable connection between the two.
4. Eyepiece and Barlow Lens: An eyepiece with a longer focal length can help to frame the Moon in your view. A Barlow lens can be used to increase the effective magnification of your telescope, allowing you to capture more detail.
If you are interested to know, I already wrote an article about how to use Barlow lens for astrophotography
5. Filters: Although not necessary, certain filters can enhance your moon photography. A lunar filter can reduce glare and increase contrast, making surface features more visible. If you’re photographing during the day, a neutral-density filter can help manage the increased light.
6. Remote Shutter Release or Timer: To avoid camera shake when pressing the shutter button, use a remote shutter release or your camera’s built-in timer.
7. Post-processing Software: Software like RegiStax, PixInsight, or Adobe Photoshop can greatly improve your final image quality. They allow you to adjust contrast, sharpness, and brightness, and can also be used for stacking multiple images to reduce noise and enhance detail.
With your camera attached to the 100mm telescope and all settings adjusted properly, you’re ready to shoot.
Start with a lower ISO (around 100-200) to reduce noise, and a faster shutter speed to prevent motion blur.
As the Moon is a bright object, you don’t need long exposures. Capture multiple images for later stacking in post-processing software to enhance detail and clarity.
And most importantly, enjoy the process and the stunning lunar landscapes you’re about to uncover.
As well as, are you want to get an idea about how to capture a sharp moon in the night sky? I have provided an article about my experience on how do I take sharp moon photos. You can reveal it and polish your knowledge.
Planets
Clear views of our solar system’s planets, such as Jupiter, Saturn, and Mars, can be captured using a 100mm telescope.
- Mars: In this range, Mars is an excellent target to observe. You will be able to see some detail and recognize several significant areas in different color tones. Depending on the distance between Earth and Mars at the time, the ice poles may also be seen. You could even be able to glimpse its Moons under ideal conditions.
- Jupiter: It will be the last planet from which you may obtain significant information. This is due to the planet’s size and composition, which features distinct contrasting sections of white and orange/brown. Perhaps you’ll be able to capture some of its larger Moons. However, good sky conditions are required for this.
- Saturn and Neptune: In this range telescope, don’t expect to see much detail. Saturn will appear mostly like a yellow spot however because you can still see its rings, it should be quite recognizable. Neptune will be nothing more than a brilliant blue dot.
Observing planets in our solar system is fascinating with a 100mm telescope, but capturing their images takes it to another level.
So, here are some tips on how to photograph Mars, Jupiter, and Saturn, amongst others.
1. Telescope and Mount: Your 100mm telescope, preferably on an equatorial mount, is an ideal setup for planetary imaging. The equatorial mount allows for precise tracking and reduces field rotation, which is essential when imaging planets.
2. Camera: A high-speed, high-resolution planetary camera is best for capturing planetary images due to their small size and rapid rotation. However, a good quality DSLR can also do the job.
3. Barlow Lens: A Barlow lens will double or triple your telescope’s focal length, which increases the image scale and allows you to capture more planetary detail.
4. Filters: A UV/IR cut filter can improve image sharpness by blocking ultraviolet and infrared light that the camera sensor can detect but not focus.
5. Capture Software: You’ll need software, such as FireCapture or SharpCap, to control your camera and record video. Planetary imaging is usually done by recording video and stacking the best frames to create a single image.
6. Post-processing Software: Software like RegiStax or AutoStakkert is used to stack your images, while software like Adobe Photoshop or PixInsight can be used to process them further.
By the way, If you feel like it’s good to know how to photograph planets with a DSLR. I have already provided an article for you.
Star Clusters
Star clusters, celestial clusters of stars scattered across our galaxy, present an enchanting spectacle through a 100mm telescope.
Comprising open star clusters and globular clusters, they provide ample material for both observation and astrophotography. Here’s how you can view and photograph these celestial spectacles:
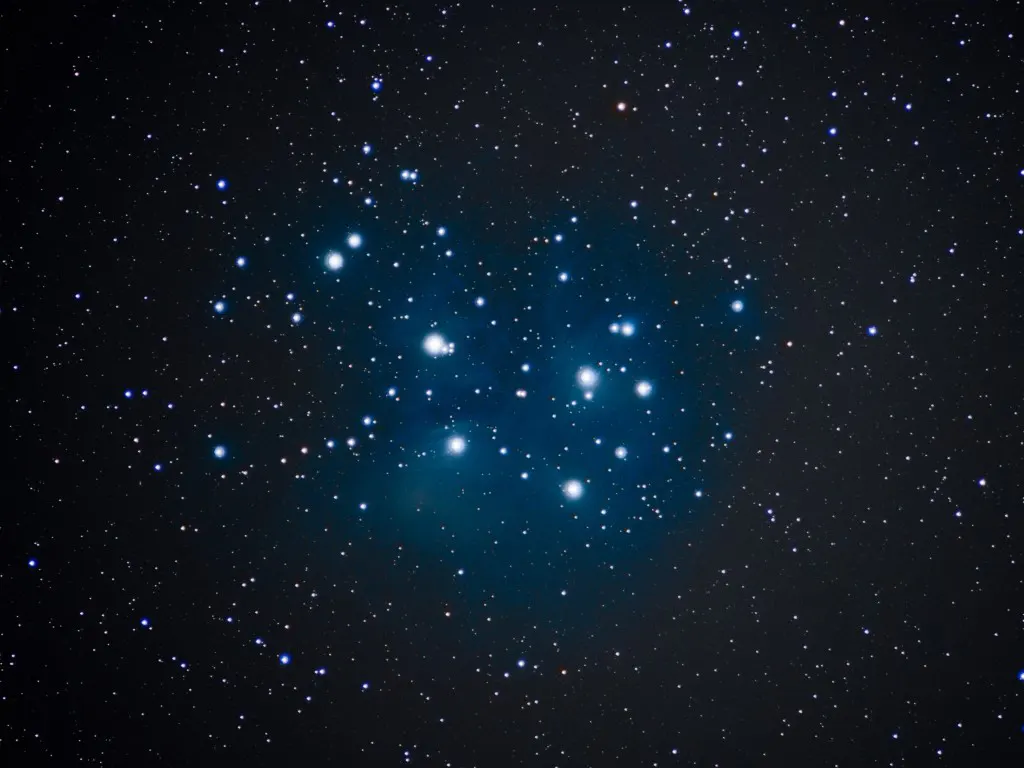
Open Star Clusters: These are groups of stars relatively close to each other, sharing a common origin. Famous ones like the Pleiades (Seven Sisters) shine bright and clear through a 100mm telescope.
You’ll see a dusting of blue stars, stark against the backdrop of the night sky.
When photographing, using an eyepiece with a wider field of view and lower magnification can help capture the full extent of these clusters. Also, a modestly high ISO setting, such as ISO 800, can help capture fainter stars in the cluster.
Globular Clusters: These clusters house tens of thousands of stars closely bound by gravity, forming a spherical shape.
Globular clusters like M13 in Hercules are a sight to behold through a 100mm telescope. You can discern the dense core and the scattering of stars around it.
For astrophotography, use a high power eyepiece to bring out the details. You may also want to consider stacking multiple exposures to improve the image’s signal-to-noise ratio and bring out the fainter stars.
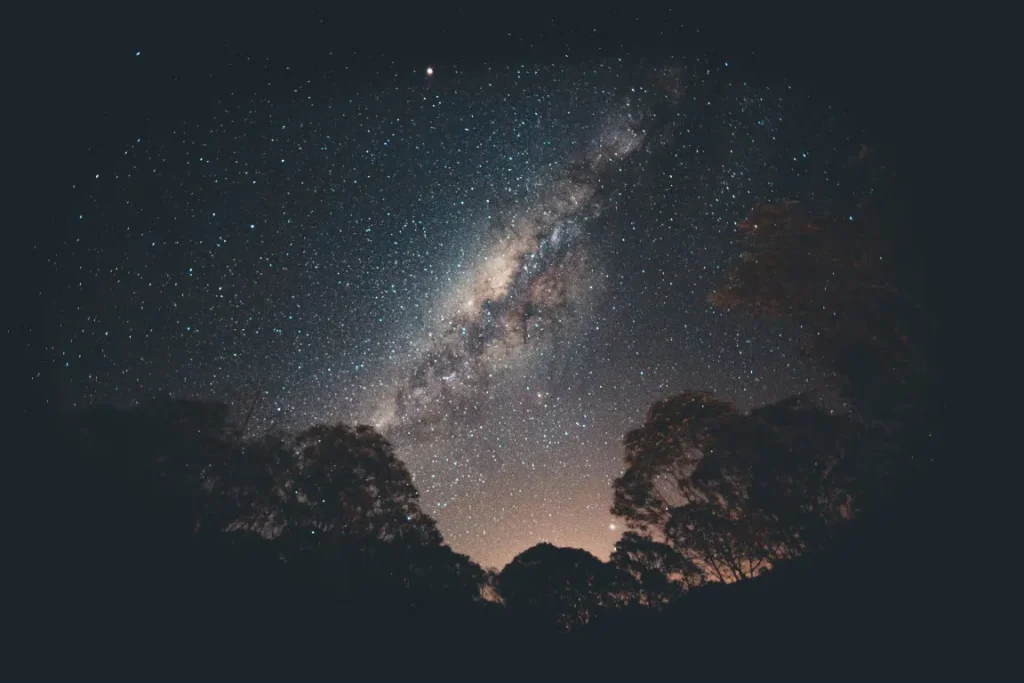
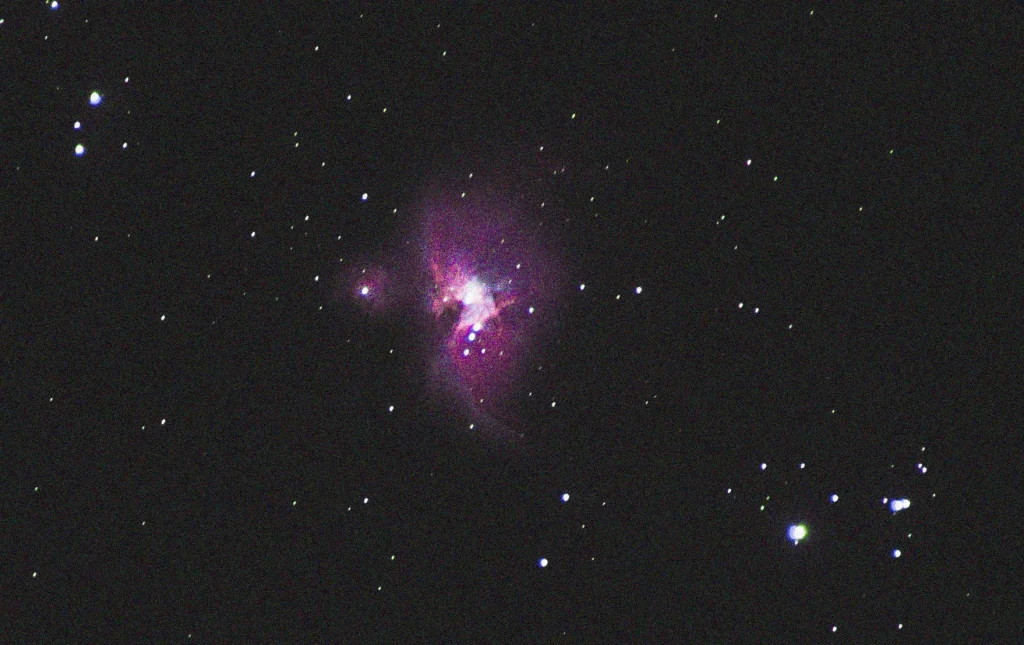
Nebulae
Nebulas, the vast cosmic clouds of gas and dust where stars are born, are visible with a 100mm telescope. The famous Orion Nebula (M42) and the Lagoon Nebula are within reach.
While they may not display the vivid colors seen in long-exposure astrophotography, they will appear as fascinating grayish clouds. To photograph nebulas, consider using filters that block out light pollution and emphasize certain wavelengths of light emitted by nebulas

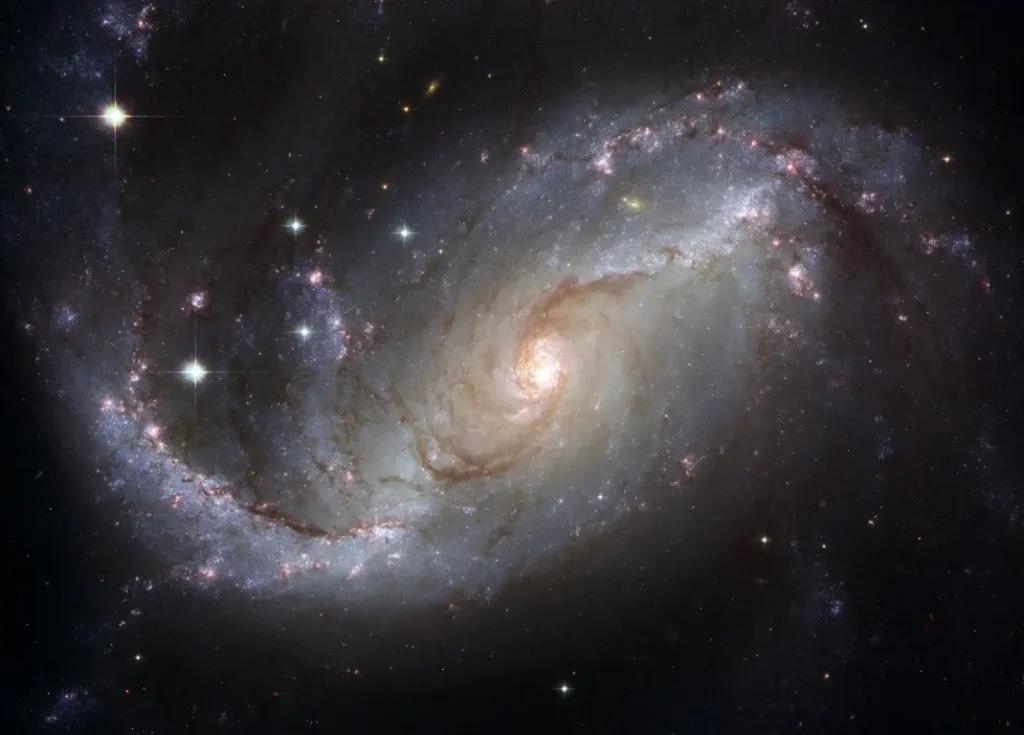
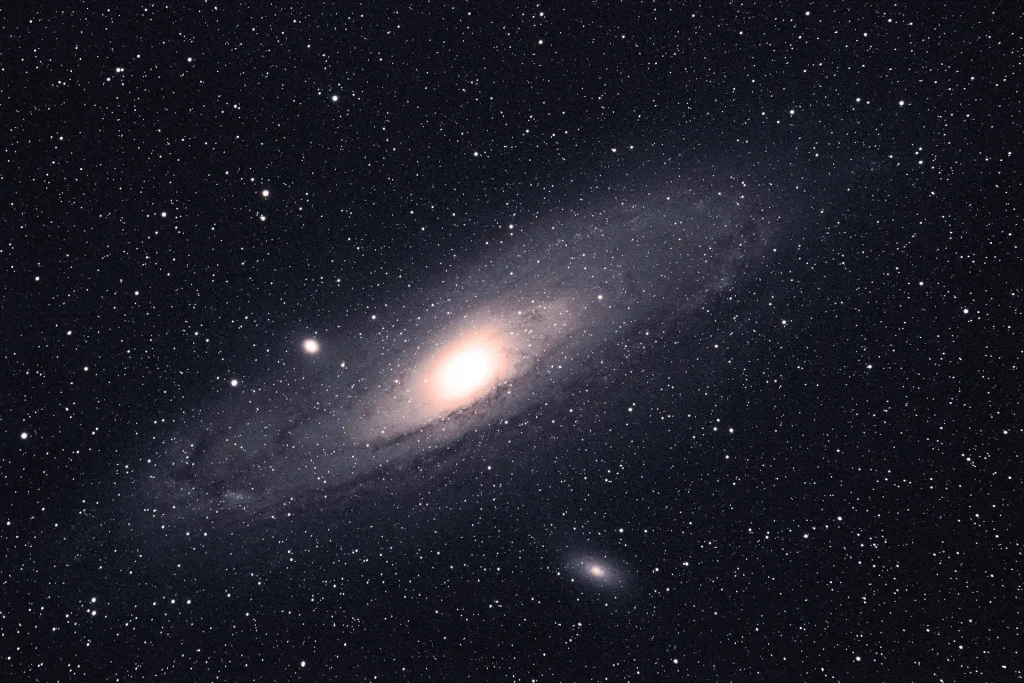
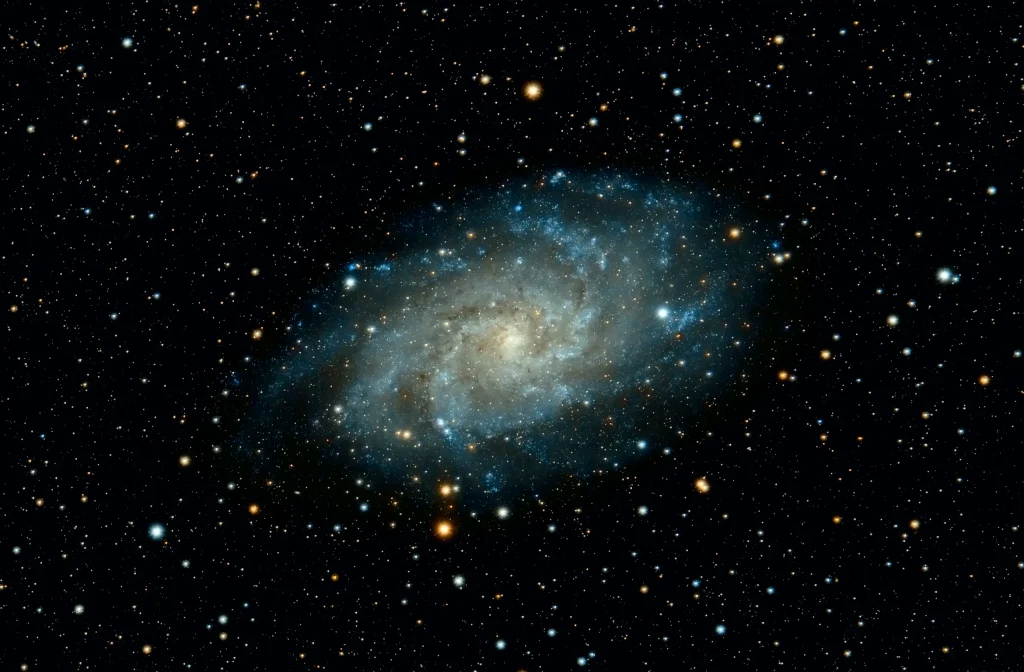
Galaxies
It’s a thrilling moment when you first glimpse a galaxy separate from our own. Andromeda Galaxy (M31), the closest spiral galaxy to the Milky Way, is a prime target for a 100mm telescope.
Through the eyepiece, Andromeda appears as a soft, glowing oval. For capturing galaxies, long exposure photography is key. You might consider an equatorial mount to track the object’s movement across the sky during the long exposure.
Advantages of 100mm Telescope
Size and portability
100mm telescopes are tiny and lightweight, making them ideal for travel. As a result, they are an excellent choice for amateur astronomers to take their telescopes to various sites for observation and astrophotography.
Price
100mm telescopes are often less expensive than larger telescopes, making them an excellent choice for beginners and enthusiasts just getting started in astrophotography.
Versatility
100mm telescopes are versatile. It can use for both lunar and planetary photography, as well as deep-sky photography. Therefore, they are an excellent alternative for amateur astronomers who want to experiment with various sorts of astrophotography.
Quality of photographs
100mm telescopes may create high-quality images despite their small size. They have a bigger aperture than smaller telescopes, which allows them to collect more light and generate brighter, sharper images. 100mm telescopes can generate spectacular views of astronomical objects when used with the proper equipment and skills.
Apart from these cons, a 100mm telescope consists a few of pros. I think it will be better to know them also for your right choice.
- Optics are limited according to lens size.
- It does not work with high-magnification eyepieces.
- For capturing cosmic happenings, sometimes there are no more sophisticated features
- There aren’t many model possibilities. Many more 70mm and 130mm telescopes are available than 100mm
Recommended 100mm Telescopes for Astrophotography
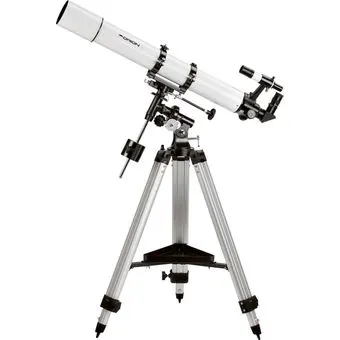
Orion Observer 90mm
The Orion Observer is an equatorial refractor, which means it allows beginners to develop with it and won’t limit you as you gain experience. It is one of the best telescope for capturing the stunning shot of the night sky
The feature of this camera is listed below.
- This superbly powerful equatorial refractor telescope provides beginner astronomers
- Its 90mm (3.5 “) lens optics and 900mm focal length provide breathtaking views of the lunar surface, Saturn’s rings, and bright deep-sky gems
- The strong EQ3-class equatorial mount and aluminum tripod are a significant improvement over the mounts seen on comparable telescopes on the market.
- Two high-quality 1.25 “There are two Plossl eyepieces included: a 25mm for low-power views at 36x and a 10mm for getting in close at 90x.
- Highly portable
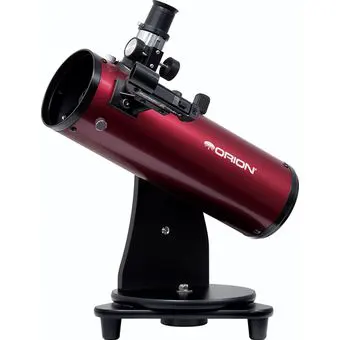
Orion SkyScanner 100mm telescope
Orion SkyScanner 100mm is a more budget-friendly, but still high-quality option for you.
It is a preferable alternative if you do not intend to travel or go outside with your telescope.
I mentioned the features of this camera following.
- An excellent entry-level reflector telescope with large optics, simple operation, and grab-and-go mobility.
- A generous 100mm (3.9 “) parabolic main mirror optics absorb dim light to expose detailed lunar craters, planets, and deep-space nebulae
- Everyone in the family can easily operate and orient the telescope thanks to the SkyScanner’s clever swivel base.
- Includes a 20mm (for 20x power) and a 10mm lens (for 40x power) Orion’s MoonMap 260, 4-element eyepieces, EZ Finder II focusing device, glare-reducing Moon filter
- Fully completed, it weighs only 5.3 pounds and measures 16 inches tall “When directed at the zenith, towering
As well as if your want to know about other equipment for astrophotography, I have a complete guide on astrophotography equipment for beginners.
Conclusion
In conclusion, a 100mm telescope offers a gateway to the wonders of the night sky. Actually, it allows both observation and astrophotography, capturing breathtaking images of celestial objects.
From the intricate details of the Moon’s craters to the mesmerizing beauty of star clusters and the ethereal glow of nebulae, this versatile instrument opens up a world of exploration.
By understanding the best settings and techniques, you can maximize your experience with a 100mm telescope and create stunning astrophotographs.
So, grab your telescope, venture into the cosmos, and embark on a journey of awe and discovery. The universe awaits your gaze.
Justin Parker is a professional photographer and has been in the industry since 2007. He attended the University of Georgia. Justin combines his passion for photography and his interest in writing to give life to this blog which talks about photography in order to help and inspire young photographers.