Planetary imaging is, one of the most popular categories of astrophotography which involve capturing detailed images of planets using specialized equipment and techniques.
My Recommendation for Beginners in Photographing Planets
If you’re new to astrophotography, I think photographing planets with a DSLR camera is a great way to get started.
DSLR cameras are affordable, easy to use, and versatile, making them an attractive option for beginners or those on a budget.
In this article, I’ll explain the benefits of using a DSLR camera for planetary astrophotography and provide a step-by-step guide on how to capture stunning images of planets using a DSLR camera.
What equipment do I use when photographing planets with a DSLR?
Do you know, shooting planets using a camera is not as difficult thing as you may think?
If you have a DSLR camera with a wide-angle lens and tripod, it is the most straightforward way to capture five visible planets that are Mercury, Venus, Mars, Jupiter, and Saturn.
So, let’s dive deep one by one for more understanding.
DSLR Camera: The first thing you’ll need is a DSLR camera. Any entry-level DSLR camera will work for astrophotography, but some models are better suited than others.
It’s better if you can look for cameras with high ISO capabilities, low noise, and good low-light performance. Full-frame cameras are ideal, but crop sensor cameras can also work well.
Lens: A fast and wide-angle lens is best for astrophotography.
So, you can use lenses with a wide aperture (f/2.8 or lower) and a focal length between 14-35mm.
Popular lenses for astrophotography include the Rokinon 14mm f/2.8 and the Canon EF 16-35mm f/2.8L III.
Tripod: A sturdy tripod is essential for planetary imaging, as it will keep your camera steady and minimize vibrations.
Look for a tripod that is sturdy, lightweight, and easy to set up.
Some popular brands for astrophotography tripods are Manfrotto, Gitzo, and Sirui.
Remote Shutter Release: A remote shutter release is a small device that allows you to trigger your camera’s shutter without touching the camera itself.
This minimizes the risk of camera shake and ensures sharp images.
There are many types of remote shutter releases available, from wired to wireless options.
If you have the ability to take a remote shutter release is an additional asset for you. But you haven’t don’t worry.

Apart from that If you may think that it’s better to know about all equipment regarding astrophotography. You can read my article on astrophotography equipment for beginners to polish your knowledge.
DSLR camera settings for Planetary Imaging
When setting up my DSLR camera for planet photography, there are a few key settings I consider.
I have listed them below.
- First, it’s important to set your camera to manual mode, as this will give you complete control over the camera’s settings.
- Next, you set your camera aperture to its lowest possible setting, as this will allow the most light into the camera and help capture a sharp and detailed image.
- As well as ISO should be set as low as possible, typically between 100-400, to reduce noise in the final image.
- When considering shutter speed, it will depend on the brightness of the planet and the ambient lighting conditions, but generally, a slower shutter speed between 1/30 and 1/60 is recommended.
These are the main camera settings that I consider with planetary shooting.
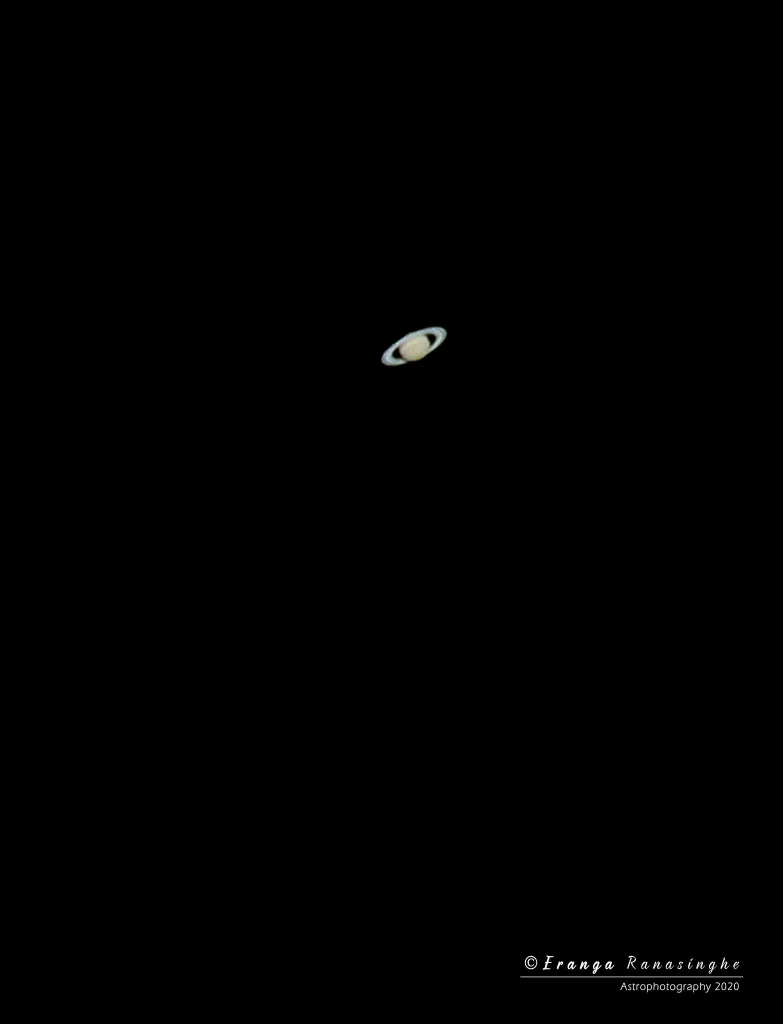
Our photography team from IT Solutions in Gippsland Pty Ltd follows every time these settings for our astrophotography shooting especially in planetary imaging. So, below I mentioned a shot of Saturn that was captured by our astrophotography editor Mr. Eranga Ranasighe.
Apart from that, there are some useful tips for setting up your camera for astrophotography. These can mention as follows.
- Using a remote shutter release or timer delay can help eliminate camera shake and produce sharper images.
- Additionally, using manual focus and focusing on a bright star or planet can help ensure your subject is in focus.
- Finally, it’s important to check your camera’s battery life and bring extra batteries or a battery pack, as astrophotography sessions can last for several hours.
How to Finding the Best Time and Location for Planet Photography
When it comes to astrophotography, timing, and location are crucial factors that can make or break your image. Photographing planets requires the right conditions, and you need to be in the right place at the right time to capture stunning shots of the planets.
According to my experience since 2019 on planetary imaging, I can say that planetarium software can rebuild your event.
The ideal time of the year for planet photography varies depending on the planet you want to capture.
For example, Jupiter is best photographed between February and July, while Mars is most visible in October.
Generally, the best time to photograph planets is during the opposition when the planet is closest to Earth.
The location for planet photography is equally essential. It would be best to find a place that is free from light pollution and has a clear view of the night sky. Light pollution can significantly impact the quality of your astrophotography images, making it essential to find a dark sky location.
Several tools and apps can help you find the ideal time and location for astrophotography. Apps such as Clear Outside, Dark Sky Finder, and SkySafari can provide detailed information on weather forecasts, moon phases, and light pollution.
Additionally, websites such as The Photographer’s Ephemeris and PhotoPills can help you plan your astrophotography session by providing information on the direction and angle of the moon and the position of the planets.
By taking the time to plan and prepare for your astrophotography session, you can increase your chances of capturing stunning images of the night sky.
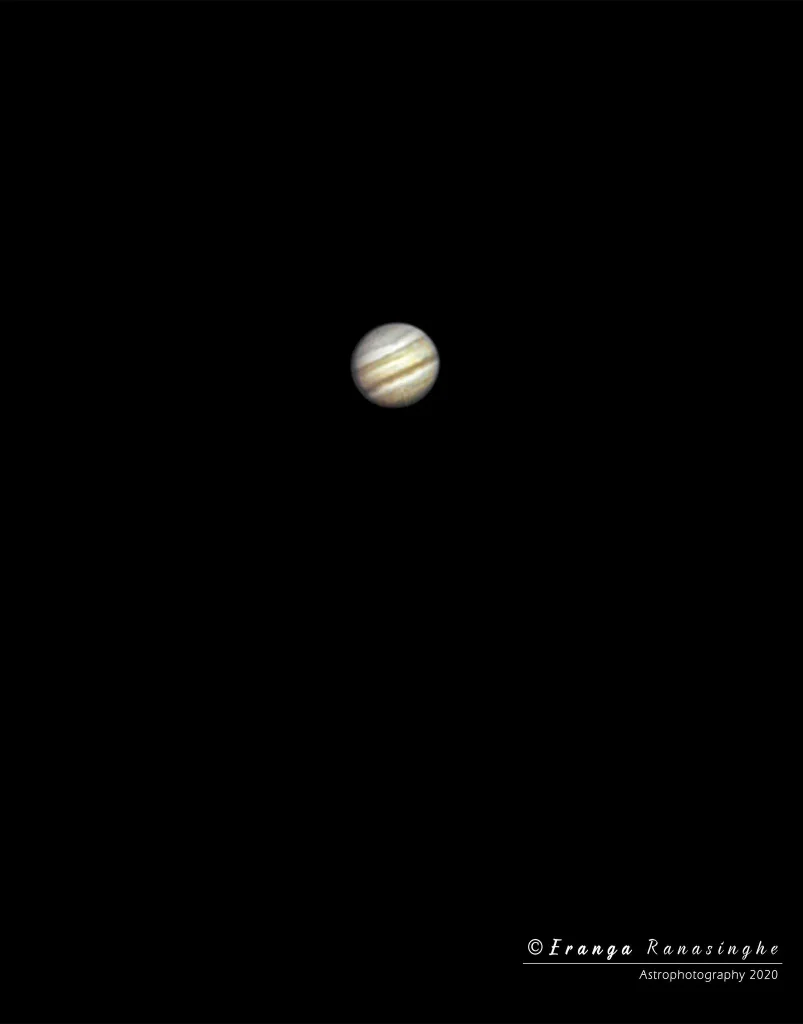
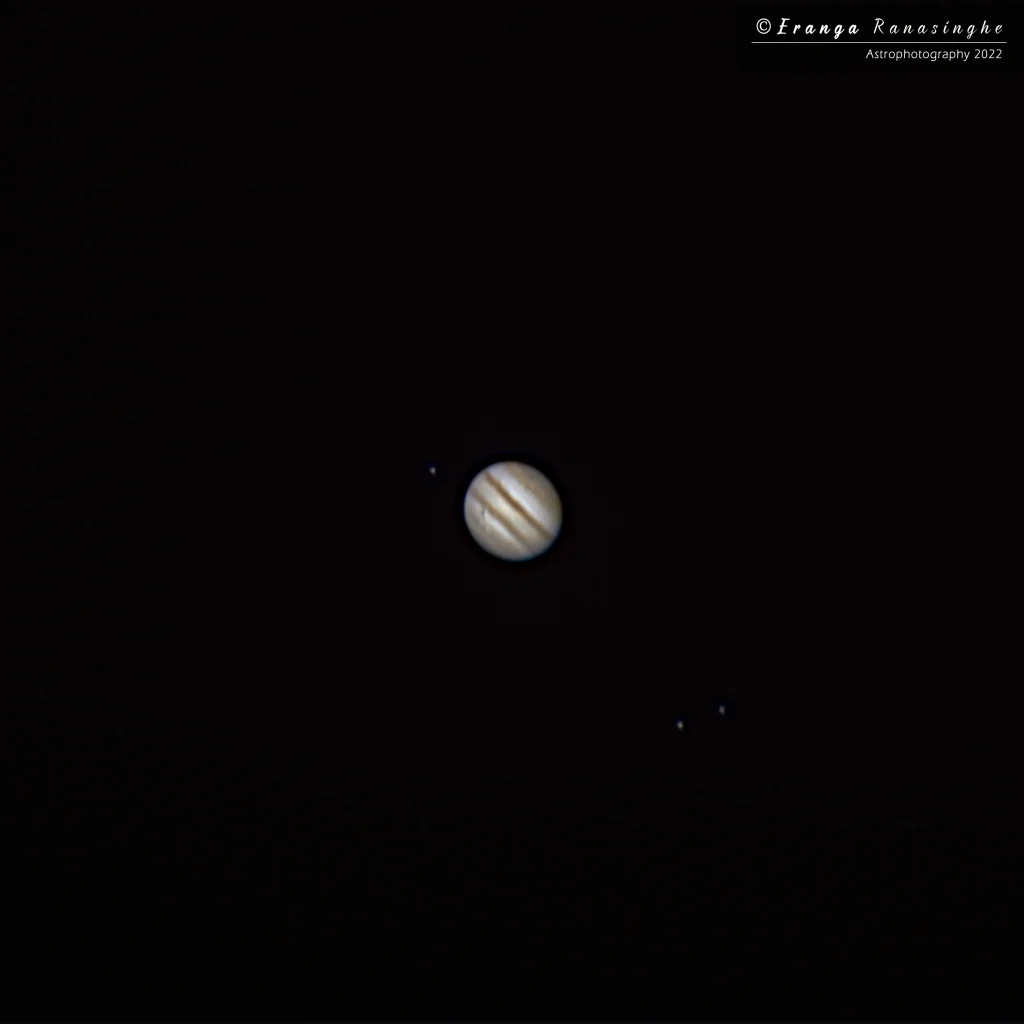
How to take photos of Jupiter with DSLR
Jupiter is the largest planet in our solar system and a favourite target for astrophotographers, including me. To capture stunning photos of Jupiter using your DSLR camera, you can follow these tips:
Equipment Needed:
You will need an ordinary DSLR camera, a telephoto or zoom lens, a tripod, and a remote shutter release.
Finding the Best Time and Location:
Jupiter is visible in the night sky from March to October. You can see the planet in the southeastern sky after sunset. Don’t remember to find a location with clear skies and minimal light pollution.
Camera Settings:
Set your camera to manual mode and adjust the aperture to its lowest possible setting. Use a slow shutter speed of between 1/30 and 1/60 to capture the planet’s details. Adjust the ISO to achieve the correct exposure.
Focusing:
Use manual focus to focus on Jupiter. It can be challenging to get a sharp focus, but using live view can help.
Image Stacking:
Taking multiple images and stacking them together in post-processing can help reduce noise and increase detail in your final image. Consider using specialized software such as RegiStax or AutoStakkert.
Post-Processing:
Use photo editing software such as Adobe Photoshop or Lightroom to adjust the brightness, contrast, and color balance of your image. Sharpen the image as needed, but be careful not to over-sharpen.
My Tips for Capturing the Planets
Capturing the planet can be a challenging task, but with some useful tips, you can improve your chances of getting great shots.
One of the most important things to keep in mind when capturing the planet is to use a cable release or remote shutter release.
It helps to avoid camera shake. Sometimes, even a slight movement of the camera can cause blurriness in your photos, so it’s essential to keep the camera steady.
Another useful tip for capturing the planet is to take multiple exposures. This technique involves taking several photos of the same subject with different settings, such as different shutter speeds or ISO values.
Besides, you can refer to the article on astrophotography exposure time for an A-Z guide on exposure time in astrophotography.
By doing these tips, definitely you can increase the chances of getting a great shot and reduce the likelihood of having blurry or overexposed photos.
It’s also essential to avoid some common mistakes when capturing the planet. For example, avoid using a high ISO value, as this can result in grainy or noisy photos.
Similarly, avoid using a long exposure time, as this can result in star trails or overexposure to the planet.
If you think to refer about star trail photography, my article on long exposure star trails photography is for you.
Finally, make sure to focus accurately on the planet to get sharp, clear images.
By following these tips and avoiding common mistakes, you can improve your planet photography skills and capture stunning images of the planets in our solar system.
Final Word
This article has offered an overview of planetary imaging as well as the advantages of utilizing a DSLR camera for your shoot of planets to capture amazing photographs.
Don’t forget to use suitable equipment needed for planetary imaging, such as the DSLR camera, lens, tripod, and remote shutter release to succeed in your event.
In addition, planning and preparation for astrophotography sessions and determining the optimum time and place for catching planets are two significant points.
I think this article encourages readers to capture breathtaking images of planets with their DSLR cameras and with the right equipment, planning, and preparation. So, I hope that you try to capture stunning photos of the night sky.
Justin Parker is a professional photographer and has been in the industry since 2007. He attended the University of Georgia. Justin combines his passion for photography and his interest in writing to give life to this blog which talks about photography in order to help and inspire young photographers.