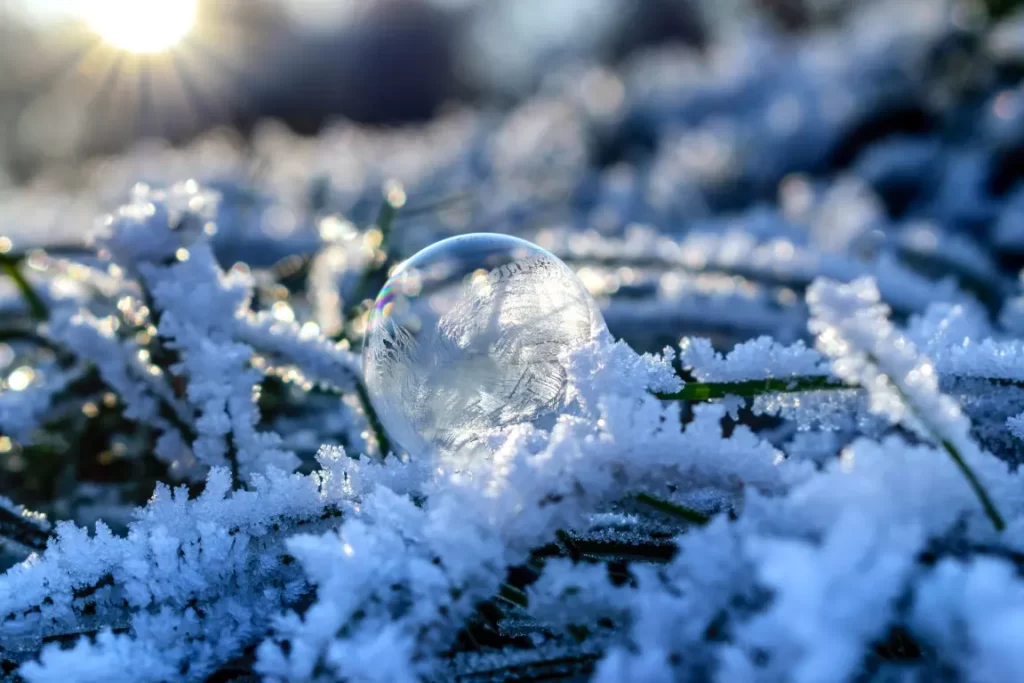
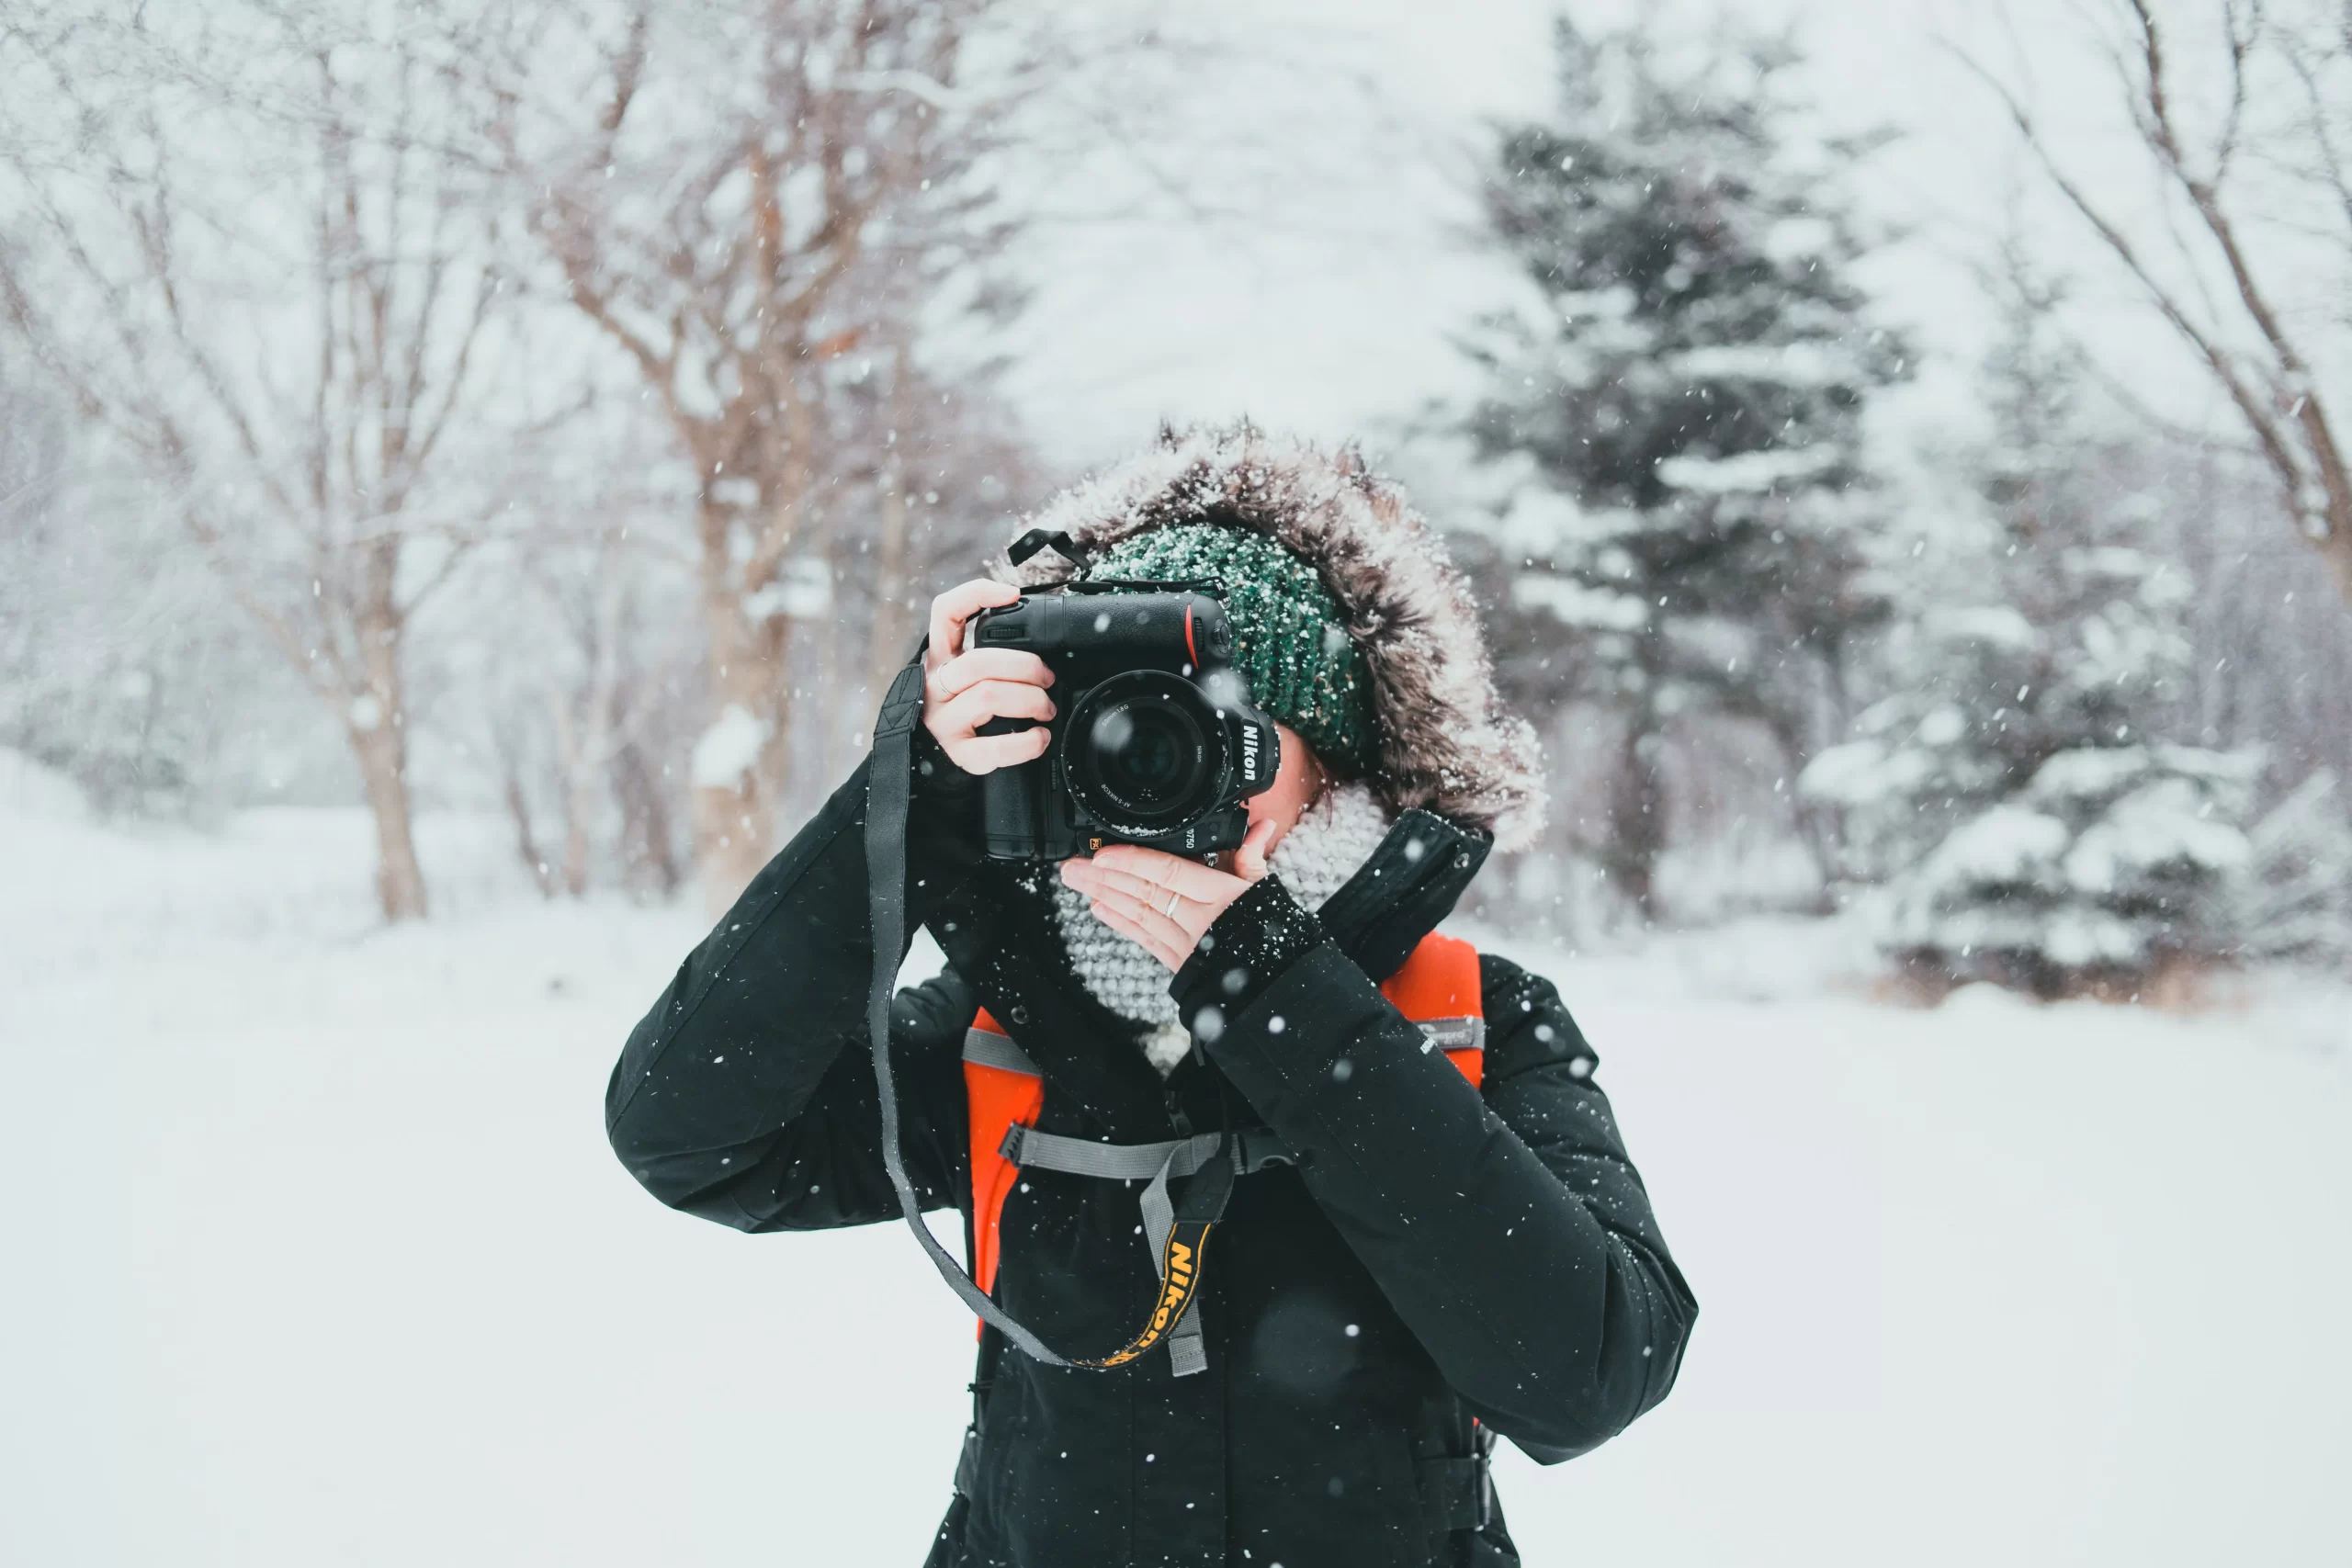
While embarking on snow mountain hikes and during exhilarating ski adventures, I was captivated by the transient beauty of snowflakes. Their intricate designs presented a unique challenge, urging me to immortalize them through my lens.
Having honed my skills in snowflake photography, I’m eager to share my insights and discoveries in this article, detailing the way how to photograph snowflakes.
Join me on this frosty journey!
Snowflake Photography as Micro-Adventure
Snowflake photography is a kind of micro-adventure.
Venturing out into the cold, battling freezing temperatures, and racing against time to capture the fleeting beauty of a snowflake before it melts is no less challenging than scaling a mountain or navigating rugged terrain.
The equipment must be precise, the conditions just right, and the photographer’s patience and skill put to the test. It’s a dance between the photographer and nature, much like adventure photography, but on a more intimate scale.
So, while snowflake photography might focus on the minuscule wonders of the world, it embodies the spirit of adventure, making it a unique subset within the broader adventure photography niche.
Why Is It Difficult To Photograph Snowflakes?
While photographing snowflakes, I often encountered a unique set of challenges, primarily because of their inherent nature. These tiny ice crystals birthed high in the Earth’s atmosphere, are incredibly delicate.
Being aware of the following challenges in advance allows you to take the perfect snowflake shot.
- Their beautiful, intricate designs can be easily lost to the warmth of a finger’s touch or a breath’s slight exhale.
- Further complicating the process, when temperatures hover just below freezing, snowflakes are particularly prone to melting.
- One glance through a macro lens and these tiny marvels can transform into droplets before your eyes.
- Navigating these obstacles is an integral part of the snowflake photography journey, requiring patience, precision, and a good understanding of both your equipment and the conditions.
My Tips: Use a chilled surface for snowflakes, avoid direct breath, and invest in a fast macro lens for quick, clear shots.
Snowflake Photography Camera Settings?
Understanding my camera’s settings allows me to capture the delicate and intricate beauty of snowflakes.
Here are some key adjustments that I use in my photography journey. So using them you can make to enhance your snowflake photographs.
◘ Embracing Manual Focus
With subjects as small and detailed as snowflakes, the automatic focus might not give you the sharpness you desire.
Instead, switch to manual focus.
This allows you to make precise adjustments and ensure the most critical elements of the snowflake are in perfect focus.
◘ Shooting in RAW Format
For the greatest level of control over your image quality in post-processing, shoot your snowflake photographs in RAW format.
Unlike JPEGs, RAW files preserve all the data from your camera sensor, providing you with the highest level of detail and color accuracy.
◘ Setting the Aperture
The aperture, or f-stop, affects your image’s depth of field. Because snowflakes are so tiny, a shallow depth of field can help distinguish them from the background.
Try setting your aperture between f/5.6 and f/11 to maintain the balance between your subject and its surroundings.
◘ Adjusting Shutter Speed
Shutter speed will depend on the situation that you plan to capture.
Snowflakes in mid-air (Dynamic):
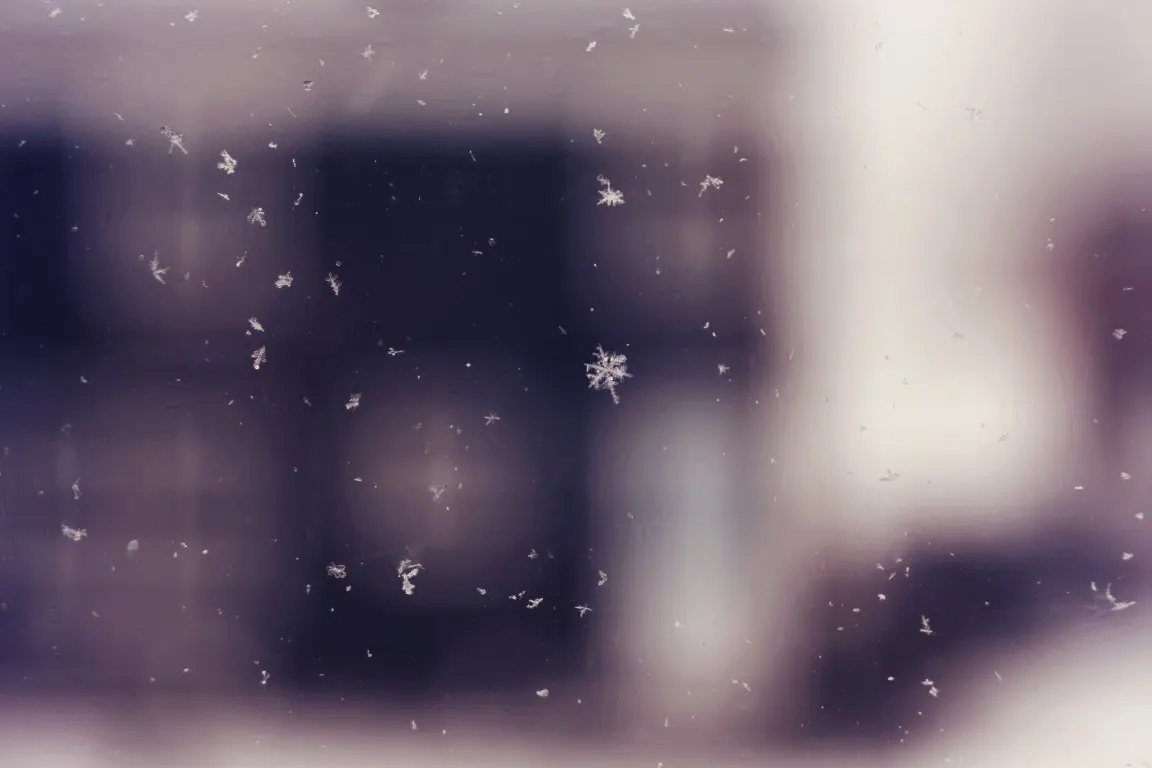
These are snowflakes that are actively falling or floating in the air.
So, capturing snowflakes in mid-air requires a fast shutter speed to freeze their motion, giving the photograph a dynamic feel as it captures the movement and randomness of falling snow.
For Static Snowflakes:
However, when photographing static snowflakes, a slower shutter speed can be used since there’s no need to freeze motion.
This slower speed allows for a lower ISO (resulting in less noise/grain in the image) and a greater depth of field (more of the image will be in focus).
◘ Controlling ISO
For snowflake photography, it’s often best to keep your ISO low to preserve the intricate details of the snowflakes and to reduce noise.
The ISO setting controls your camera’s sensitivity to light. A higher ISO may be necessary in low light conditions but can result in image noise.
My Tip: Remember to adjust your camera’s aperture and shutter speed to compensate for a lower ISO setting
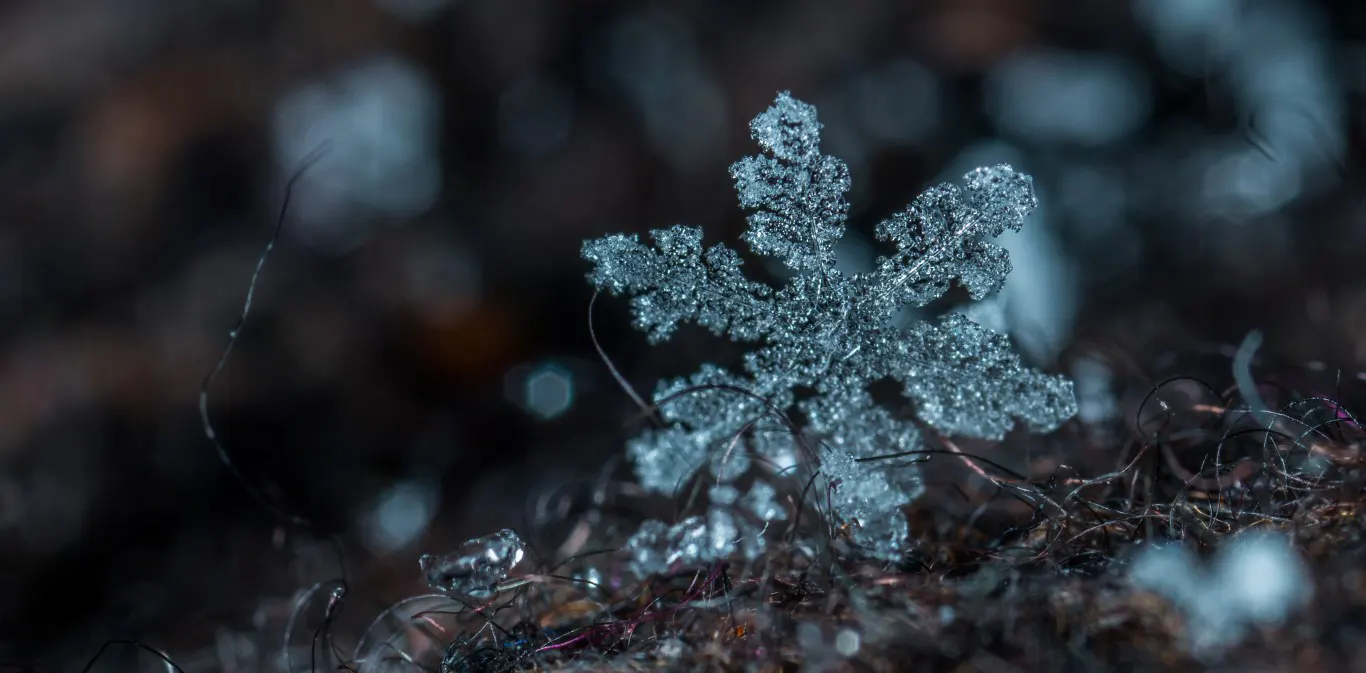
How To Photograph Snowflakes Macro?
Even though no two snowflakes are the same, photographing macro snowflakes could be a fun and gratifying winter endeavor.
However, there are some areas I always consider to achieve the perfect outcome from macro snowflake photography. Let me share the most crucial ones with you.
◘ Temperatures and Other Weather Conditions
When it’s freezing outside, snowflakes naturally occur. To get the best photos of snowflakes, you need to know what kinds of meteorological conditions are present while the snowflakes are falling.
In my opinion, a gentle snowfall with no wind is ideal for cross-country skiing. If you’re photographing a snowflake, you’ll have to deal with unwanted distractions.
One of the most important factors is the temperature.
At a minimum, the ground temperature should be several degrees below 32° F. The snowflake melts in seconds as the temperature rises over 32 degrees Fahrenheit.
In addition, snowflakes that fall through a wet environment have more intricate crystal patterns because of the cooler air temperatures and greater cloud humidity.
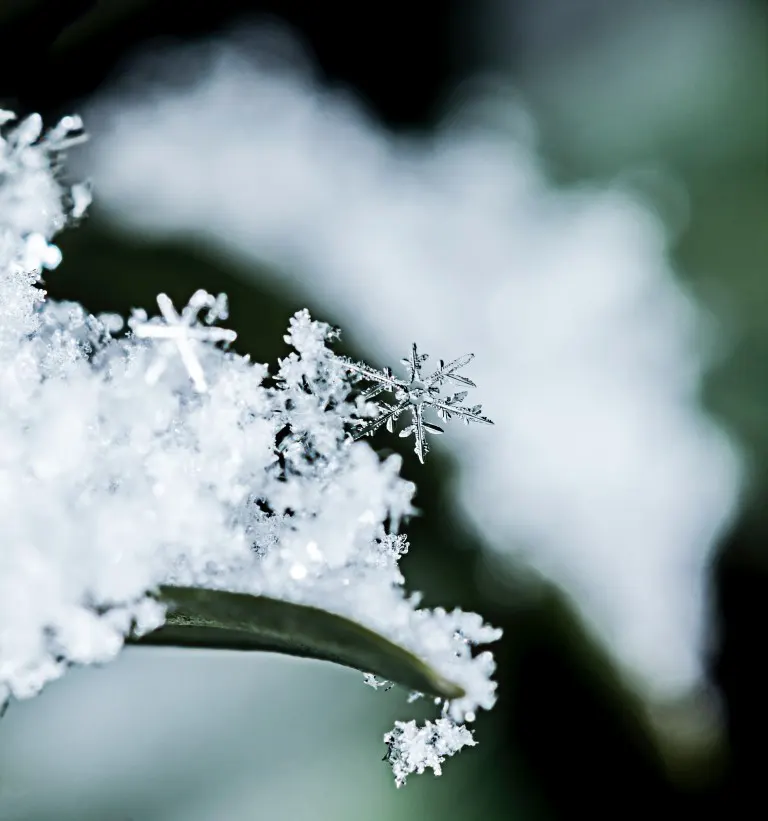
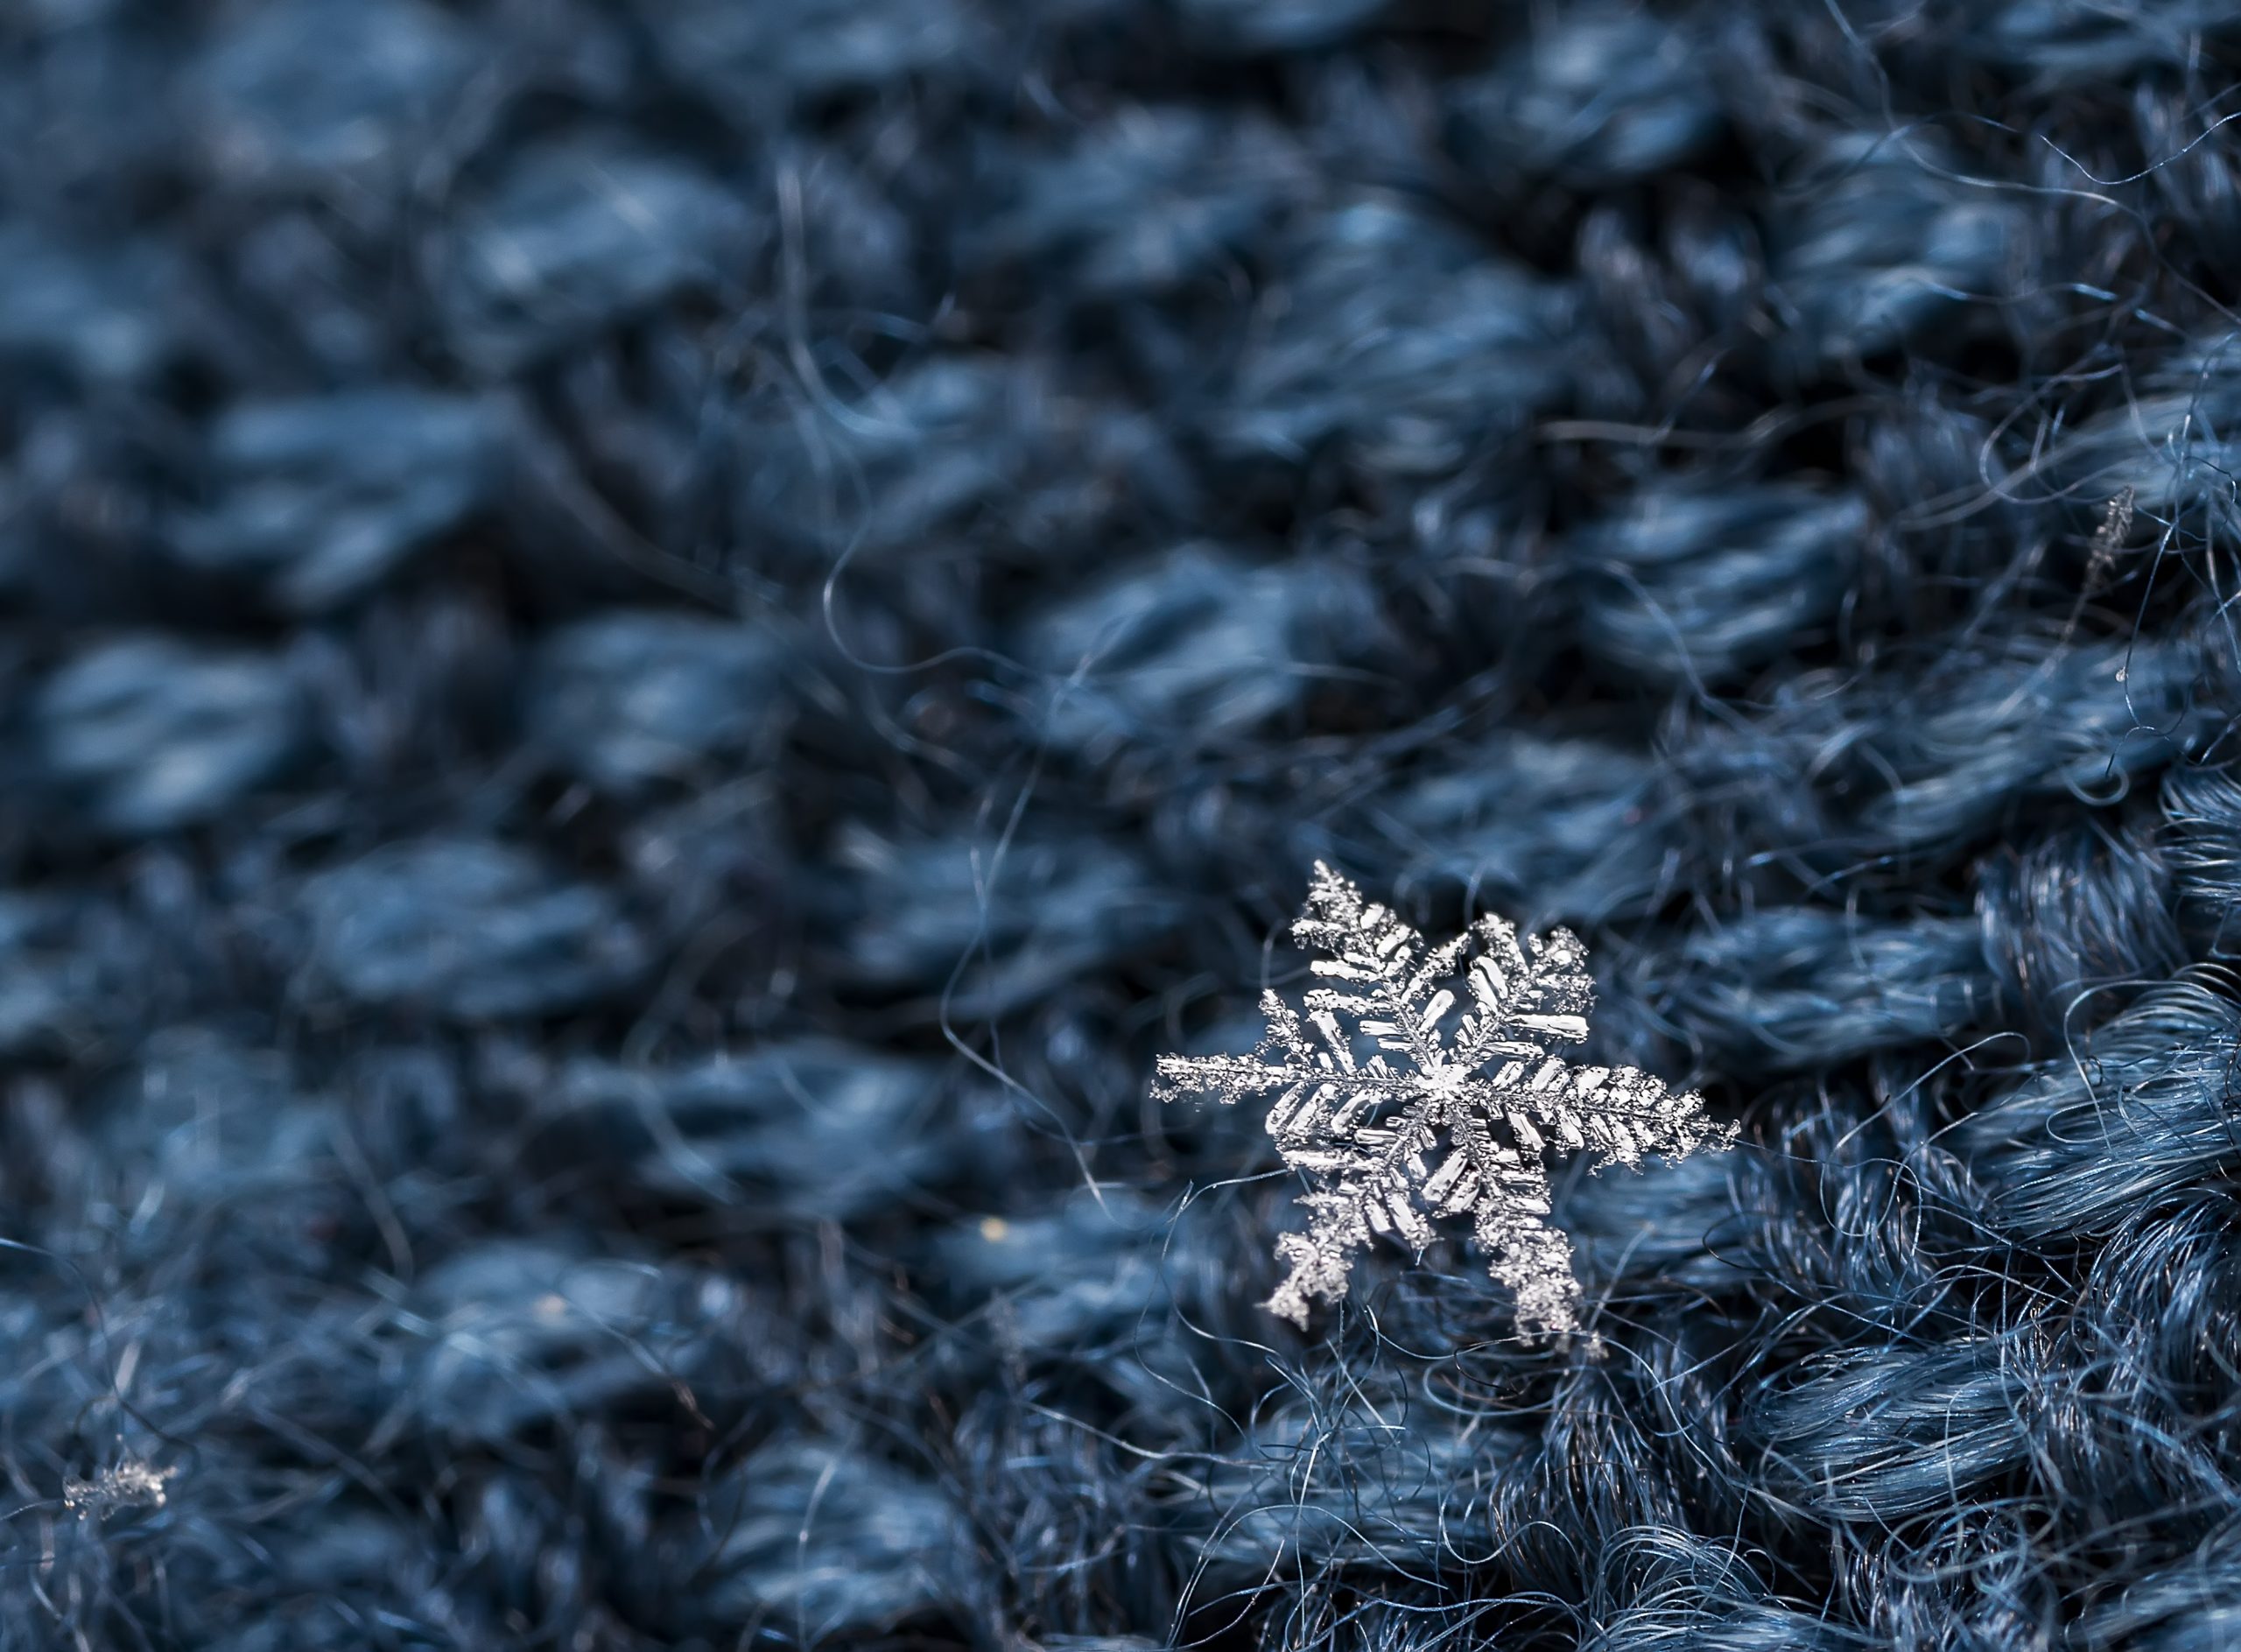
◘ Surfaces and Backdrops

Preparation is vital, so get your gear together, watch things, and look for intriguing surfaces or backgrounds to photograph.
The light-colored snow-covered environment that is most typically present on a snowy day makes it difficult to see individual snowflakes.
So choose a darker backdrop, like nearby trees, leaves, a structure, or a vehicle. You may also utilize unusual textures like blankets, scarves, gloves, or other materials as a backdrop for photographs.
◘ Doing Well in The Game
The focus area is quite tight due to the tiny size of the snowflakes. Because of this, a cluster of snowflakes might seem like a hazy jumble.
In other words, while the snow falls, keep an eye out for a snowflake that’s not shattered and all by itself.
To move the snowflake into a better position, you may use a toothpick or a tiny paintbrush to separate it from the others carefully.
Snowflakes are often flat, which makes them easier to concentrate on. Angle your camera so it’s as parallel to a snowflake as possible to capture most of it in focus.
My Tip: Start at a lower aperture, such as f/11, and then make exposure adjustments as necessary to get the whole snowflake in focus.
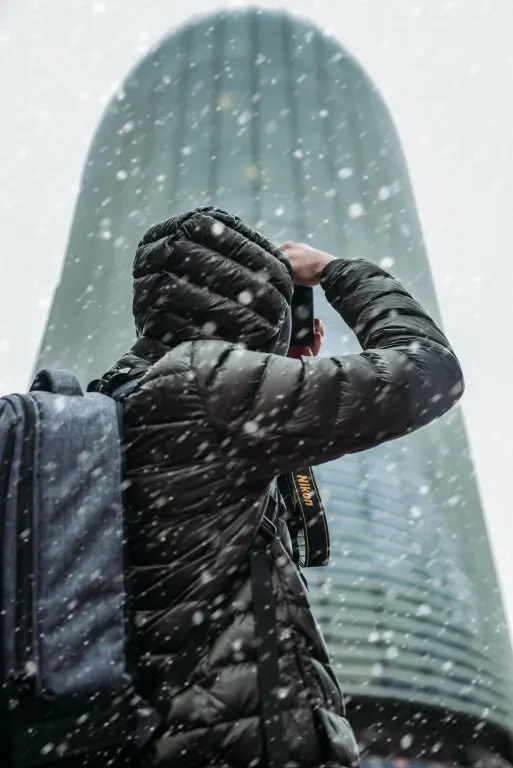
How To Photograph Snowflakes Falling?
◘ Maintain Your Center of Gravity
It might be challenging to get the correct white balance when taking snow pictures. Most of the time, snow is seen to be blue in hue.
Use the “flash” option instead of altering your white balance if you don’t intend to do so. It is designed to counteract blue flash illumination and may warm up your snow-filled picture.
Trying to remove all the blue will likely result in your snow taking on a yellow tint, plainly undesirable. Photographs with a modest blue tint and neutral highlights are considered well-composed.
◘ Keep a Record of Your Favorite Memories
When you’re through taking pictures or the weather has gotten to you, remove your camera’s memory card and store it in a zip-top bag or perhaps an Overboard Proof Dry Tube Bag until returning home.
Your camera body & lens will be protected from any condensation that may collect when you enter a warm environment using a zip-top or dry bag rather than directly on them.
◘ Utilize the Histogram
Use your histogram rather than the LCD screen to get a true sense of the picture.
If you’re photographing amid a snow-covered landscape or a bright sun, you may find it challenging to accurately interpret and measure the subject on a tiny LCD screen.
How To Photograph Snowflakes on Glass?
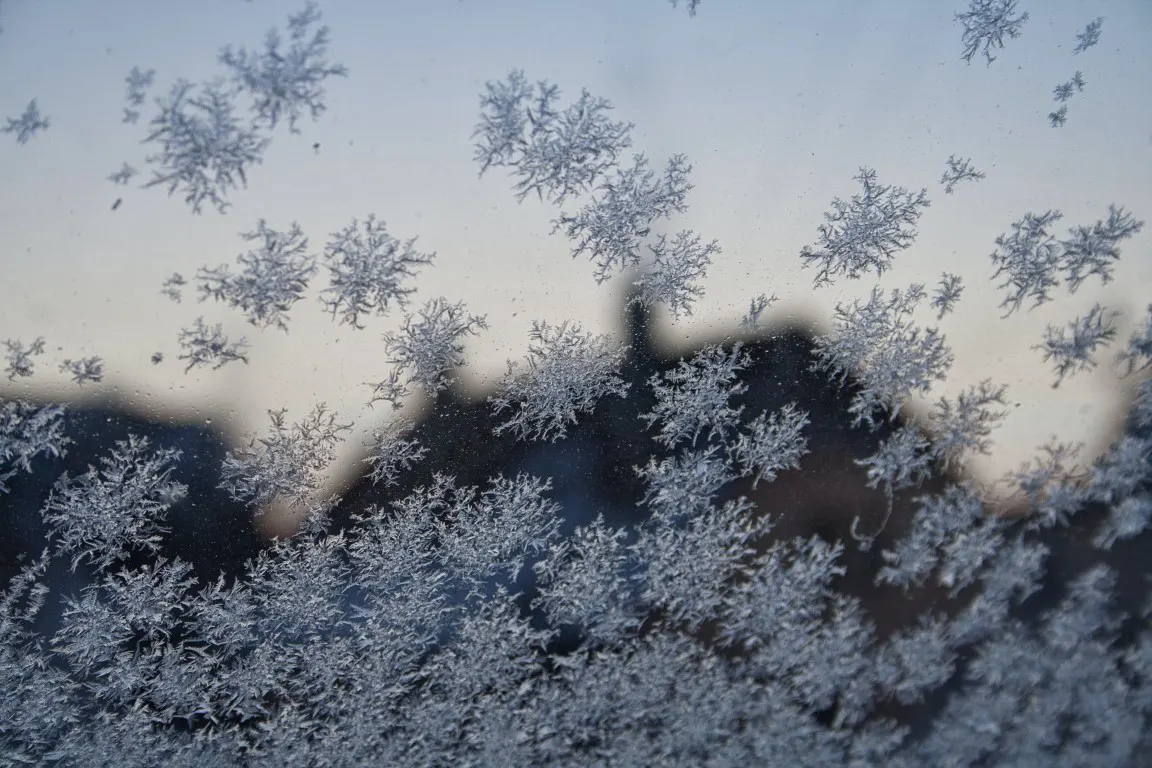
Achieving a striking image of a snowflake on glass requires careful attention to camera positioning and settings. I’ll share the approach I use when photographing snowflakes on glass.
- Start by aligning your camera lens parallel to the snowflake on the glass. This maximizes the area of the snowflake that’s in focus.
- Begin with a lower aperture setting, around f/11, ensuring a greater depth of field. From here, tweak your exposure settings as required to bring the entire snowflake into focus.
Remember, each adjustment can significantly impact the final image, so patience is crucial.
- In addition to these technical aspects, consider the lighting conditions. A well-lit, but not overly bright environment will help to enhance the intricate details of the snowflake.
- Try to minimize reflections on the glass, which can distract from the main subject.
My Tip: Experiment with different angles and distances to find the perfect shot.
How Do You Photograph a Snowflake in a Macro?
In the early days of macro photography, it was used for scientific investigation. Macro photography is defined by its tightest definition, which states that the object is taken at a 1:1 magnification or life-size in the image.
On the other hand, most people use the word “macro photography” to describe any shot that shows a tiny subject up close and in great detail.
◘ Flash is a Useful Tool
To bring your object in focus, you’ll need to decrease your aperture, reducing the amount of light entering your camera.
Using your camera’s flash or even a macro ring light might assist if your environment doesn’t provide enough natural light. A flash diffuser may soften the light to prevent your subject from being startled by the flash.
◘ Adjust The Focus
The autofocus function on most cameras stops working at high magnifications since it can’t automatically locate a focal point.
Get as near to your subject as possible and utilize the camera’s manual focus instead of autofocus.
A good technique is to sway the body up and forth to bring various picture sections into sharp focus. As soon as the subject comes into sharp focus, take a photo.
Multiple photos of the same topic may be necessary if you can’t get it all in focus.
By the way, you can familiar with the tips that are helpful when photographing snowflakes using below tutorial video.
How To Photograph Snowflakes Without a Macro Lens?
Close-up filters and reversal rings are all choices if photography is something you’d want to try before investing in a macro lens.
The results are comparable but aesthetically different if you’re using the same lenses.
◘ The “Optical Option”: Close-Up Filters
Close-up filters, also known as close-up lens filtration or close-up lenses, screw into the front of the lens like a filter.
They are accessible in most typical filter sizes. Closing-in filters are often marketed in sets of two or three different magnifications, which may be layered to increase the overall magnification (+1, +2, +3, for example).
It’s pretty uncommon for the image field to be softer towards the edges, but close-ups obtained with reversing rings show far more color aberrations than the rest of the frame.
Glass, lens coatings, and manufacturing procedures contribute to the ultimate picture quality.
◘ Close-Ups on a Budget: Reversal Rings
To reverse-mount your lens, you’ll need a reversal ring. If you turn a lens 180 degrees backward while mounting it on your camera, it functions as a magnifier for macro photography.
One side of the ring has a lens mount, and the other side has threads that screw into the lens like filters.
These reversal rings, which cost less than $10, are available through OEM and third-party manufacturers.
A lens’s magnification is proportional to the width of its angle of view when utilizing reversing rings and vice versa. Even though a lens may be attached to a camera, the lens was not meant to be used.
Your images will be more explicit in the center of the frame but softer, so they should be seen from an aesthetic viewpoint rather than a clinical one.
How To Photograph Snowflakes With an iPhone?
Using the appropriate methods, even your iPhone can yield breathtaking snowflake photos.
I’ve experimented with my iPhone to determine the optimal approach for snowflake photography. Below are straightforward steps to assist you in capturing these winter marvels with your mobile device.
◘ Setting Up the Shot
To start, clear a flat surface and sprinkle some snow on it. The snowflakes should ideally land on the surface without overlapping or clumping together.
◘ Focusing the iPhone Camera on the Snowflake
Getting a clear shot is all about the focus. Your iPhone’s autofocus might struggle with the small and intricate details of a snowflake. Manually adjusting the focus by tapping on the screen can be helpful.
Be prepared – many shots might turn out blurry due to the snowflake’s minute size. Don’t get disheartened, keep clicking until you get a few clear shots. Remember, the idea is to click numerous shots and then sift through to select the sharpest ones.
◘ Light Up Your Shot
Lighting can greatly affect your image quality. If possible, use natural light. However, if you’re shooting at night or in low light conditions, a simple hack is to use two laser pointers to illuminate the snowflake.
Just be sure to angle them in a way that doesn’t cause glare on your photo.
◘ Editing Your Snowflake Photograph
Post-capture editing can also make a significant difference in your snowflake photography. Enhance your images with iPhone’s built-in editing tools or third-party apps.
They can help you fine-tune brightness, contrast, and sharpness, further highlighting the unique patterns of your captured snowflake.
Besides, I found an interesting video that shows how to capture highly detailed snowflakes. You can refer to it too.
Conclusion
Photographing snowflakes offers a unique opportunity to capture the fleeting beauty of winter’s intricate creations.
Regardless of the equipment used, be it a DSLR, a macro lens, or an iPhone, the challenge lies in mastering the delicate balance of focus, lighting, and timing.
But with patience, creativity, and the practical tips offered in this guide, anyone can create stunning snowflake images that truly showcase the breathtaking artistry of nature.
Remember, every snowflake is unique, and so is every photograph of one, making each shot a special testament to your journey in photography.
Justin Parker is a professional photographer and has been in the industry since 2007. He attended the University of Georgia. Justin combines his passion for photography and his interest in writing to give life to this blog which talks about photography in order to help and inspire young photographers.