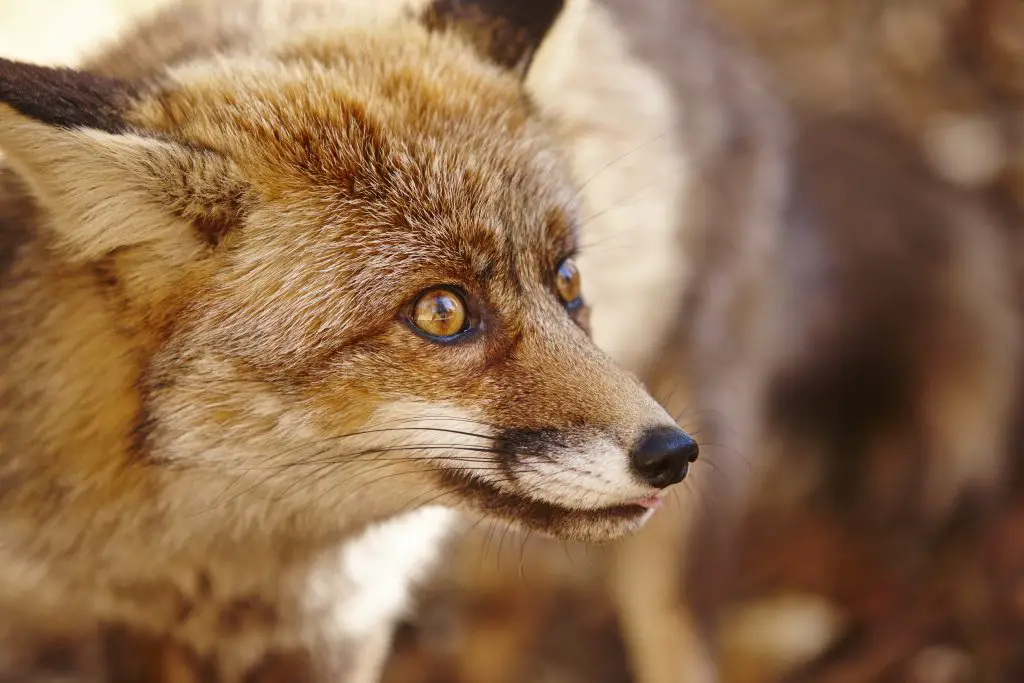
Do you enjoy wildlife photography? I might have a bias as a wildlife enthusiast myself, but I think it’s one of the best professions and hobbies out there.
But if you just got into the sport, you might be having issues taking crisp and clear pictures. After all, it’s hard maintaining camera focus on objects far away. So how do you take sharp wildlife photos?
You should invest in the right lens, like perhaps a super-telephoto one. Playing around with different camera autofocus settings and making the correct use of the camera back button focusing helps too.
If you’re interested in upping your wildlife photography game, read on as we’ll be sharing everything we’ve learned throughout the years of enjoying the sport.
Without further ado, let’s get right into it.
Why Are My Wildlife Photos Not Sharp?
We should first figure out why your current wildlife photos aren’t that sharp.
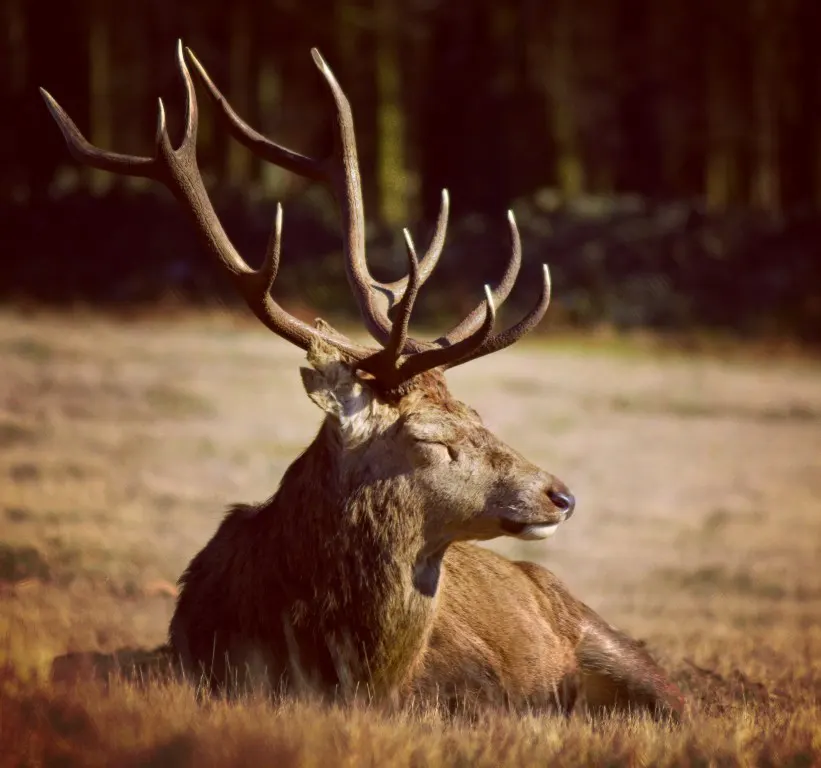
To begin with, taking sharp pictures is hard if the subject isn’t nearby.
We can’t get close to wild animals for safety reasons and the risk of spooking them away. So if you don’t have the right lens, the only option is zooming in, which distorts the sharpness of the image.
Another reason is wild animals don’t stay still most of the time. You’re bound to get a blurry photo if your subject is constantly moving. So what’s the solution?
You have to set your camera to a fast shutter speed to capture constantly moving subjects. And for combatting the far-away issue, your camera’s aperture value has to be just in the sweet spot.
In later sections, we’ll cover the exact values in more detail.
How Do I Test My Camera For Sharpness?
Let’s now figure out how sharp your camera is we’re dealing with right now. The sharpness of a camera is often subjective, so it’s hard to test it. But, there’s an easy way and a hard way.
Which one would you like? The easy one, I’m guessing.
You can know the sharpness of your camera by going through its Modulation Transfer Function, or MTF Chart. You can find it on your camera manufacturer’s website.
But MTF charts are complicated graphs that are hard to read.
We prefer doing it the hard way — taking real-life pictures in different lighting environments. Although the result will be highly subjective, it’s best to experiment yourself and stay rest assured.
How Can I Make My Wildlife Pictures Sharper In DSLR
To get clear and crisp pictures with your DSLR, follow these steps —
- Get A Super-Telephoto Lens
Super-telephoto lenses go from 200mm to upwards of 600mm. These lenses are the best choice when it comes to taking wildlife pictures.
Their job is to drastically pull in faraway objects and magnify them, which is just what we need in wildlife photography.
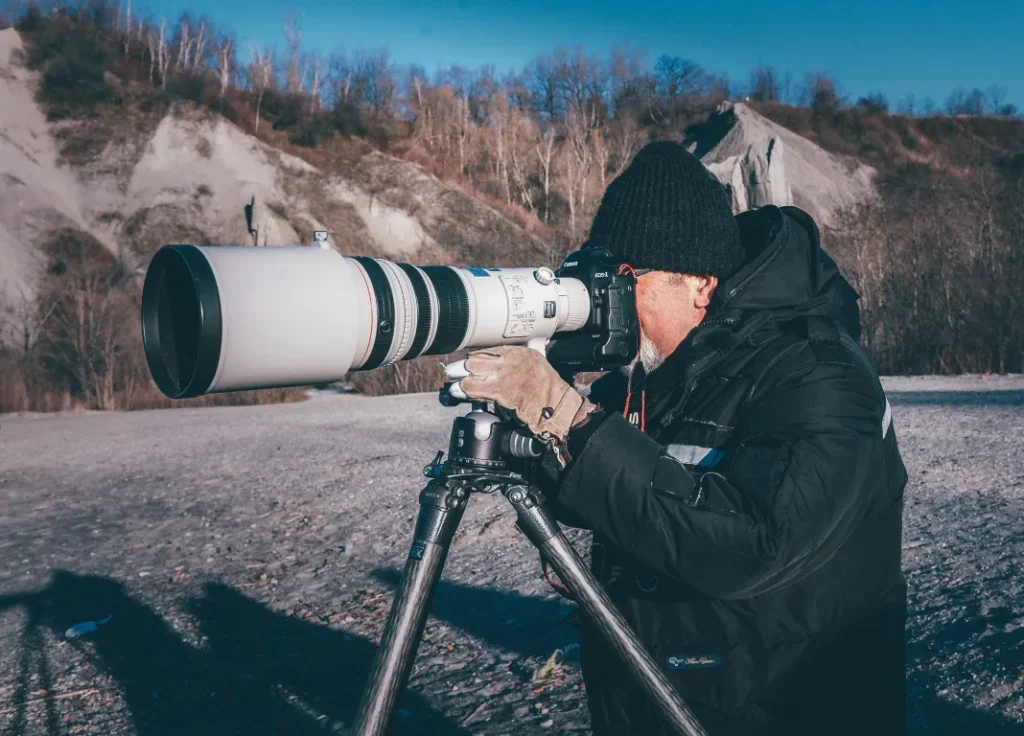
Check if your camera manufacturer makes a super-telephoto lens. Getting it from them is recommended as it’ll be properly integrated. Once you have a super-telephoto, we can move to the next steps.
- Setting Your Shutter Speed
A fast shutter speed will freeze subjects in motion, leaving you with a sharp image.
There’s a general rule of thumb in wildlife photography regarding the goldilocks zone of shutter speeds. It’s that your shutter speed should match or be faster than your lens’ focal length.
Let’s look at an example: if you’re using a 400mm super-telephoto lens, your shutter speed should be 1/400th at minimum, preferably in the 1/500th to 1/600th range.
If the shutter speed goes lower than 1/400th, though, camera shake gets introduced into the equation, and you’re left with a blurry, unsharp photo.
Although more is better, a general tip is to not go beyond your lens’s maximum focal length.
If your lens is 200-600mm, it’s best not to go beyond 1/600th shutter speed as it might have a reverse effect and blur your photos.
- Figuring The Aperture Value
The aperture controls the depth-of-field of an image by the camera.
Shooting with a small aperture value, otherwise known as wide aperture, means the image on focus will look sharp and crisp, while everything in the background will look distant and blurred, hence giving the effect of a “shallow” depth of field.
With wide apertures, the image gets disjoint from the background and comes in closer, which is convenient for faraway wildlife subjects.
All this sounds exciting — because it is — but what should you set your aperture to? The sweet spot is a few times higher than your camera’s smallest aperture.
So let’s say your camera has f/5-6.3 smallest aperture. Then the sweet spot for you will be around f/11, which is around 2 to 3 times higher.
Be sure to play around with different supported values and test which gives the sharpest result.
- Monopods And Tripods
Super-telephoto lenses are heavy, and if it’s your first time, you might face difficulty holding it. For rookies in general in photography, tripods and monopods are your best friend.
Most modern cameras have a dedicated slot for fitting a tripod or monopod of some sort. As they’re so widely used, you can get them for pretty cheap at any camera store.
- Enabling Image Stabilization
While on the topic of stability, you should enable the built-in image stabilization for your DSLR.
All modern cameras have this mode which uses software to calibrate the shot and remove shaking. This comes in handy when you’re taking handheld shots of aerial wildlife like flamingos or flying squirrels.
But we’d recommend keeping image stabilization off when you have a solid tripod or monopod setup.
This is because the artificial image stabilizing software somewhere interferes with the stillness and introduces an unwanted shake into the photo. So turning it off for static setups is recommended.
Creative Ways to Drastically Improve Your Wildlife Photos
Most camera mods cost a lot of money, and might even break your bank. But you don’t have to worry, there are some creative approaches you can take which will drastically improve your wildlife photos.
- Make A DIY Tripod
From reading the last section you must know by now how important tripods are. If you can’t spend money on it, you can just make a DIY one instead!
You can create a tripod with just about anything. The easiest we’ve seen is placing 3 wooden slabs in a triangular order and placing your camera on it. Make sure they’re on an elevated surface, like perhaps on the top of your car.
When shooting wildlife such as lions and tigers, you can use a plain beanbag as a tripod to shoot from inside your car.
- Play Around With Your Camera’s Software
The final thing we’d recommend is playing around with your camera’s software.
A lot of camera manufacturers have built-in presets for wildlife shooting that automatically set the correct shutter speed, ISO settings, and aperture values.
Be sure to explore all of them, and maybe you will discover the perfect setup for you!
Conclusion
Wildlife photography is often challenging, but there’s nothing like the feeling when you finally get to see the incredible photos you’ve taken throughout the day! We strive for that feeling, and we’re glad you do too.
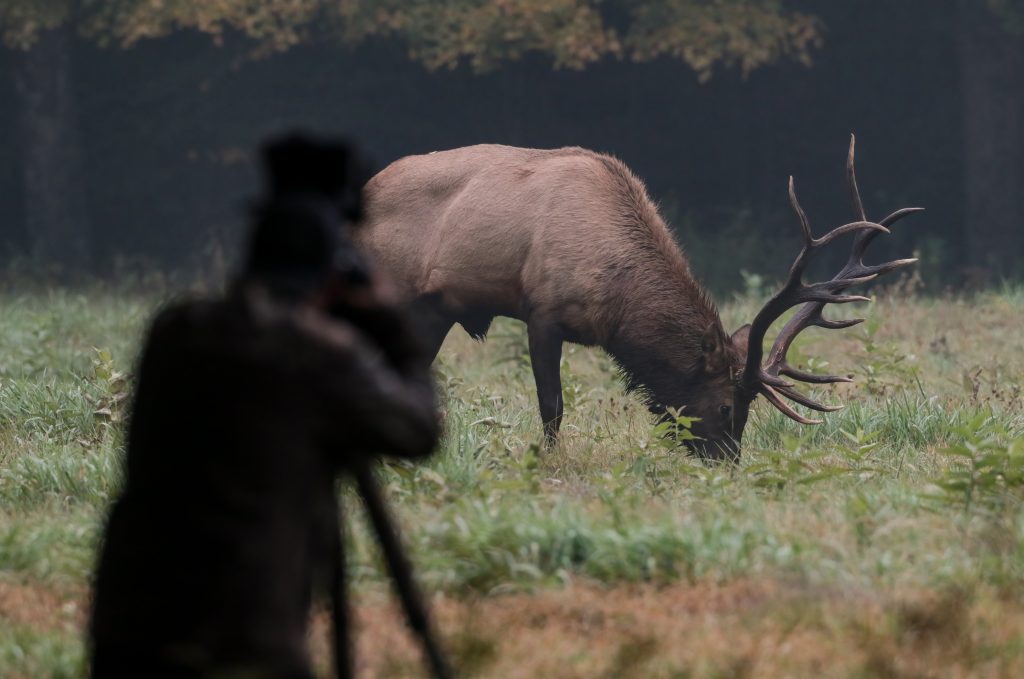
For something to leave you with, we’d recommend having a partner-in-crime when you are out for photography.
The sport takes a lot of patience, and it’d be helpful to have a companion. Both of you can also learn from each other’s mistakes and grow as photographers together. Wishing you the best of luck!
Justin Parker is a professional photographer and has been in the industry since 2007. He attended the University of Georgia. Justin combines his passion for photography and his interest in writing to give life to this blog which talks about photography in order to help and inspire young photographers.